Sharing Your Calendar
Sharing your Daylite calendar with other programs lets you work cross functionally, and more efficiently. With your Daylite calendar available in other apps, you can take advantage of the features they offer as well.
Daylite makes it easy to share your calendar with the Calendar app on the Mac, iPhone, and iPad.
Benefits of Sharing your Daylite Calendar
Sharing your Daylite calendar allows you to see your appointments in other apps, so you can add, edit, or leverage your calendar even when you're working outside of Daylite.
Pro Tip:
Sharing your Daylite calendar with another program's calendar application DOES NOT merge the databases together. When you share your Daylite calendar, each database is kept as its own calendar group.
Here are a few examples of things you can do by sharing your Daylite calendar:
Add, edit and delete meetings from outside Daylite.
Use Siri to make new appointments.
Create reminders with Siri and the reminders app.
Sharing your Daylite Calendar on the Mac
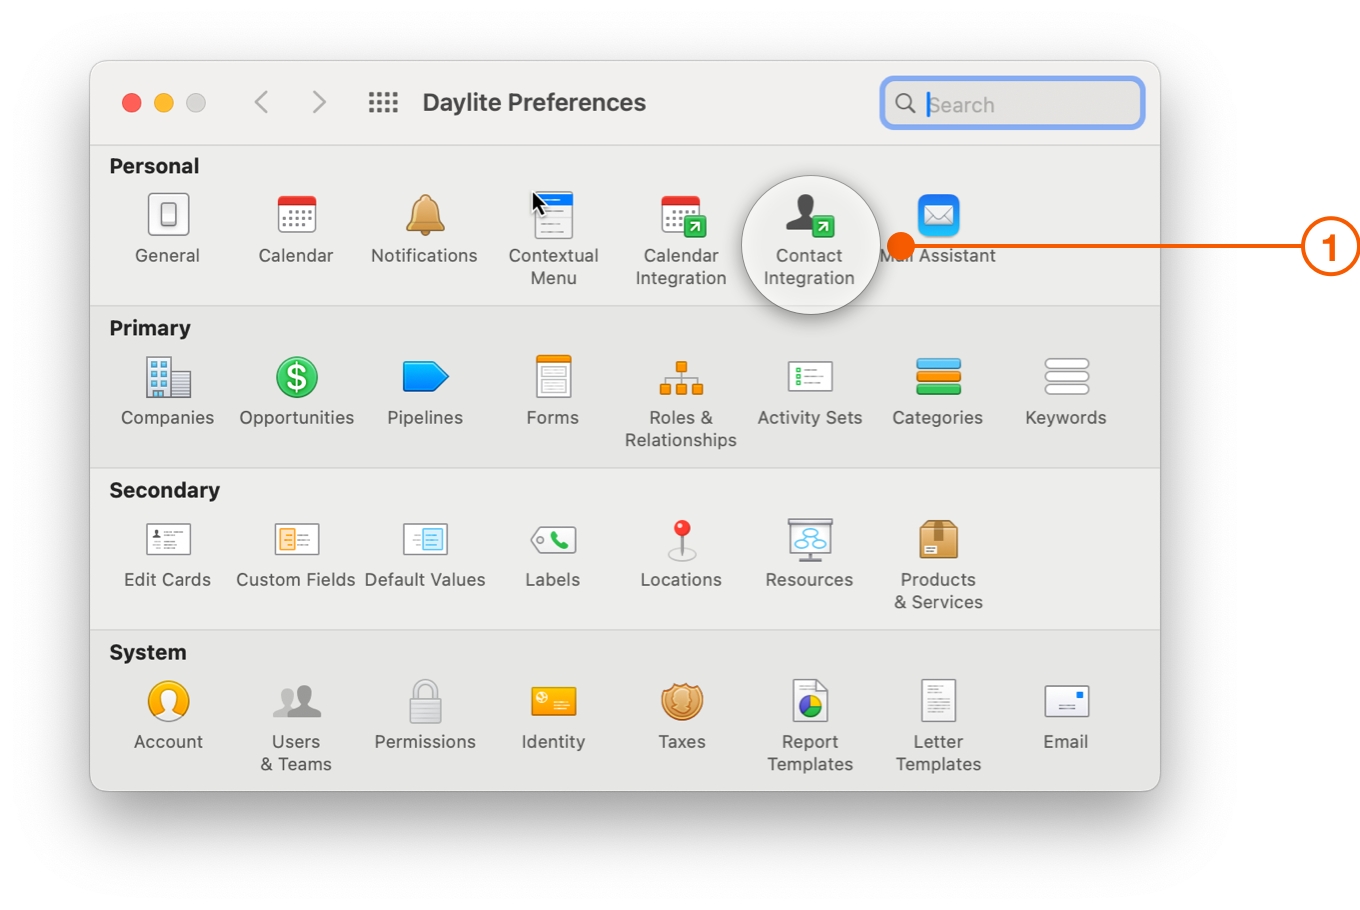
Navigate to Daylite > Settings > Calendar Integration.
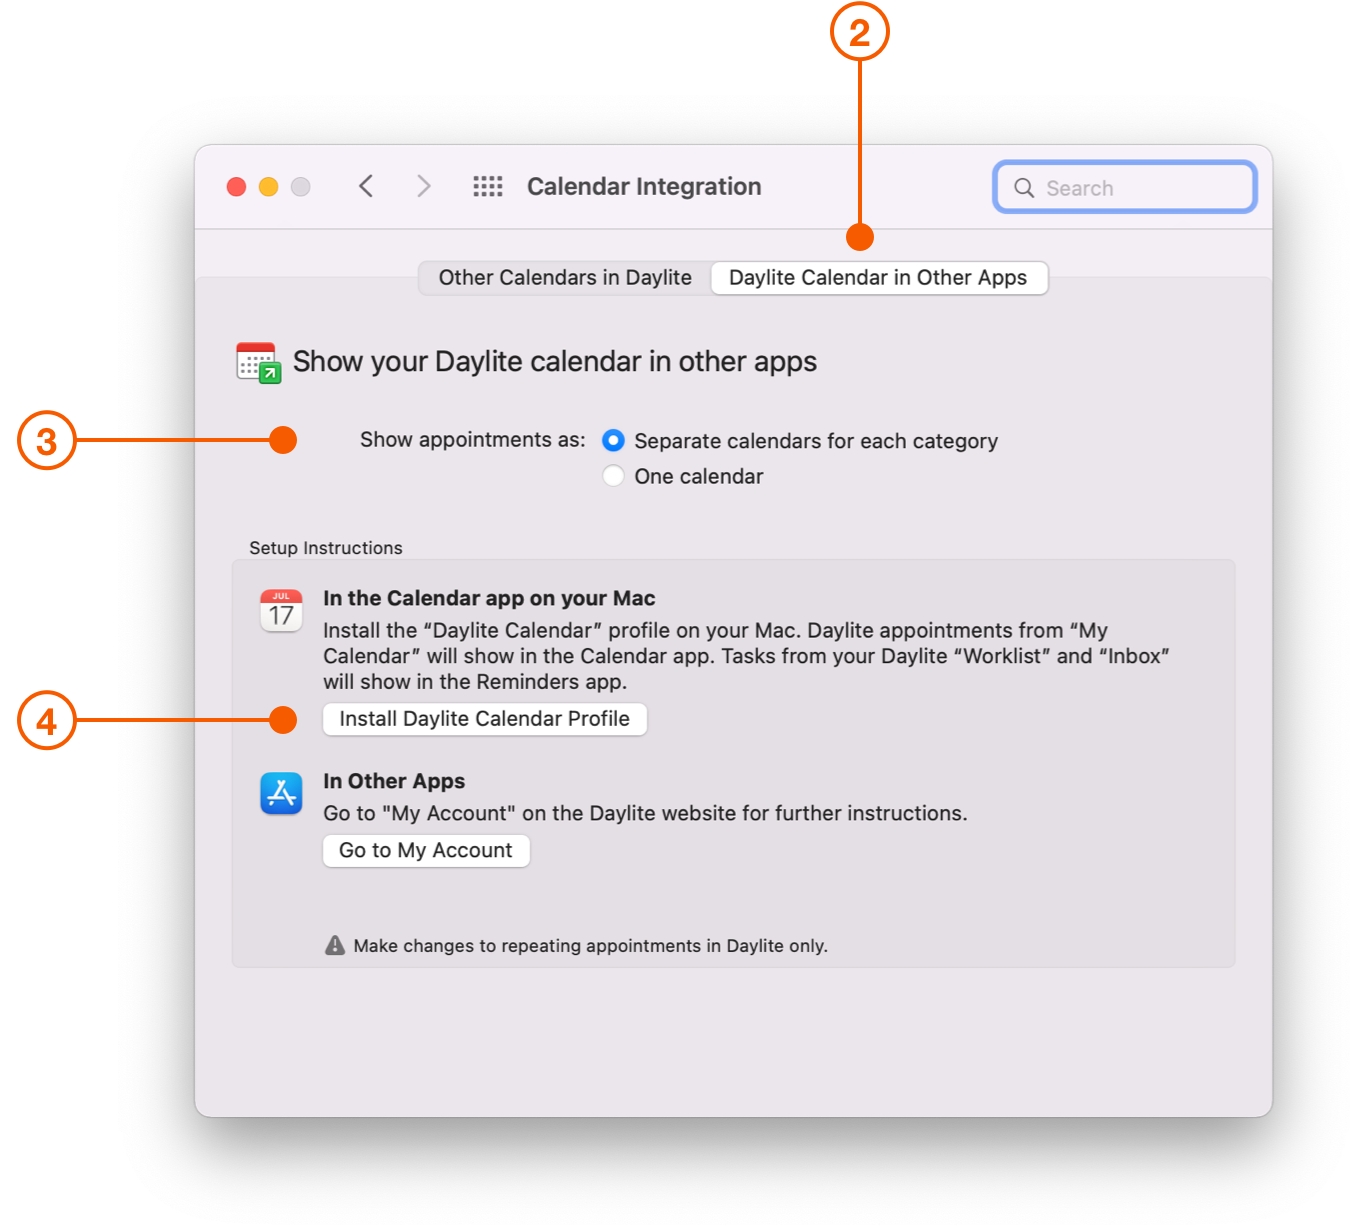
Choose Daylite Calendar In Other Apps.
Select Separate calendars for each category.
Click Install Daylite Calendar Profile.
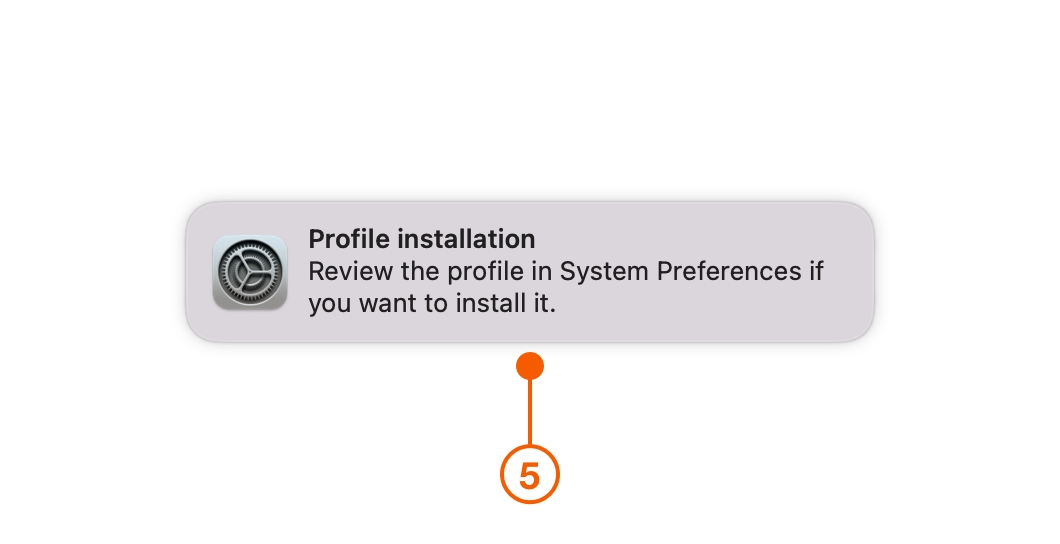
A Profile Installation notification appears, telling you to review the profile in System Settings, in order to add it to your Apple Calendar app.
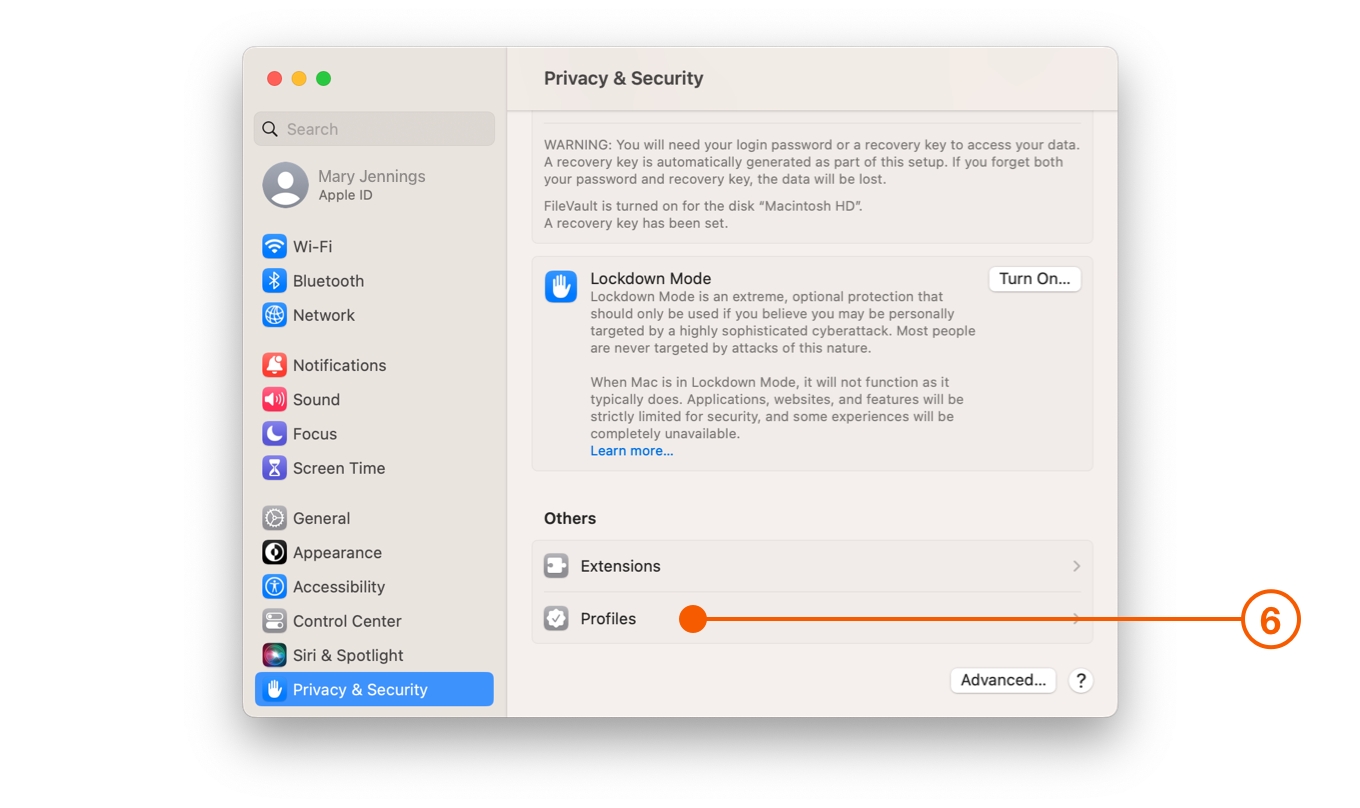
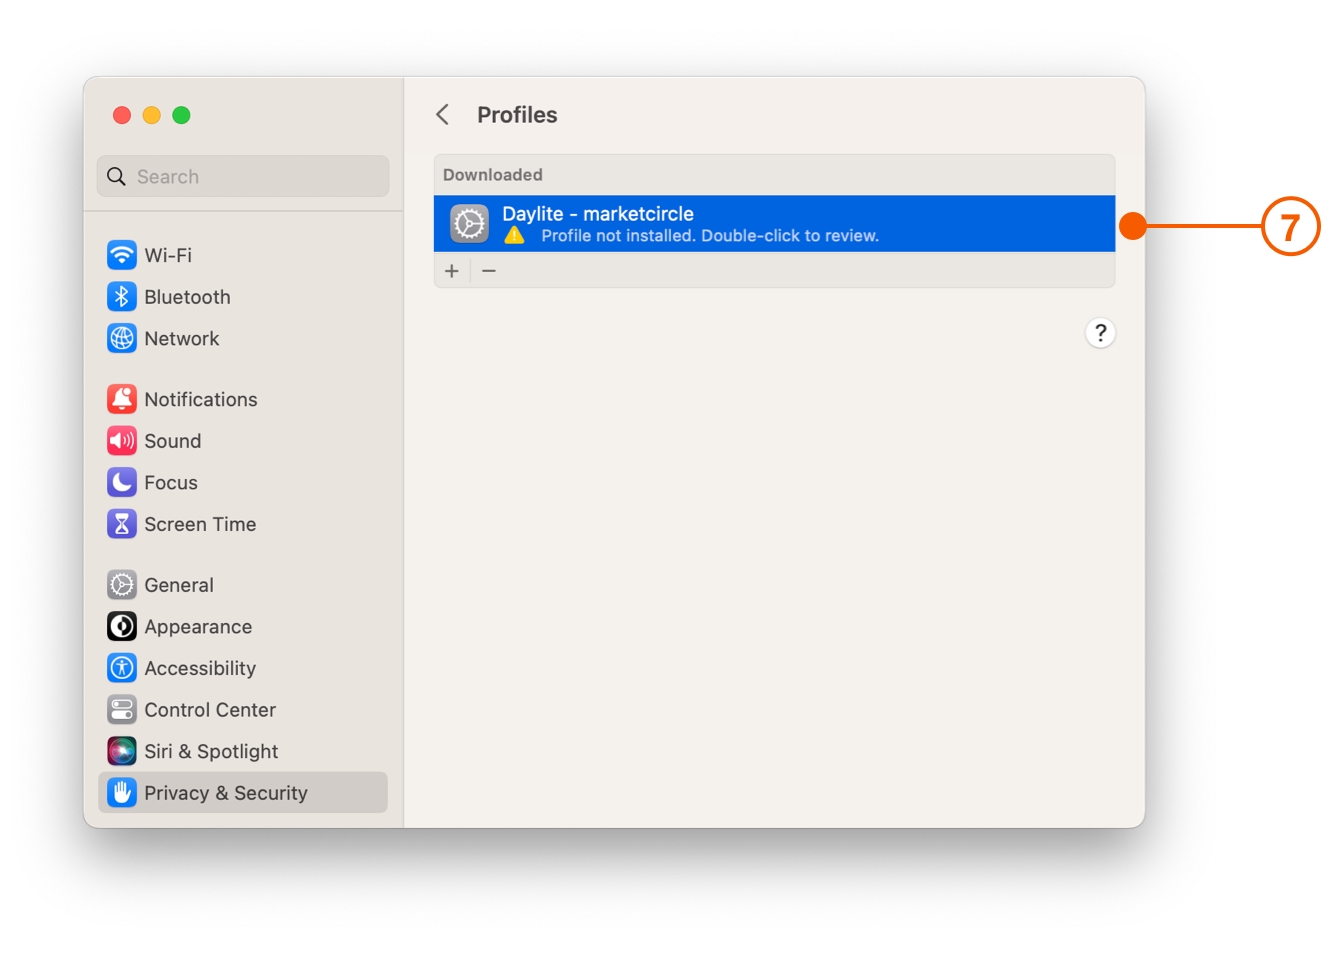
Navigate to System Settings > Profiles.
Select the profile to be added to Apple Calendar.
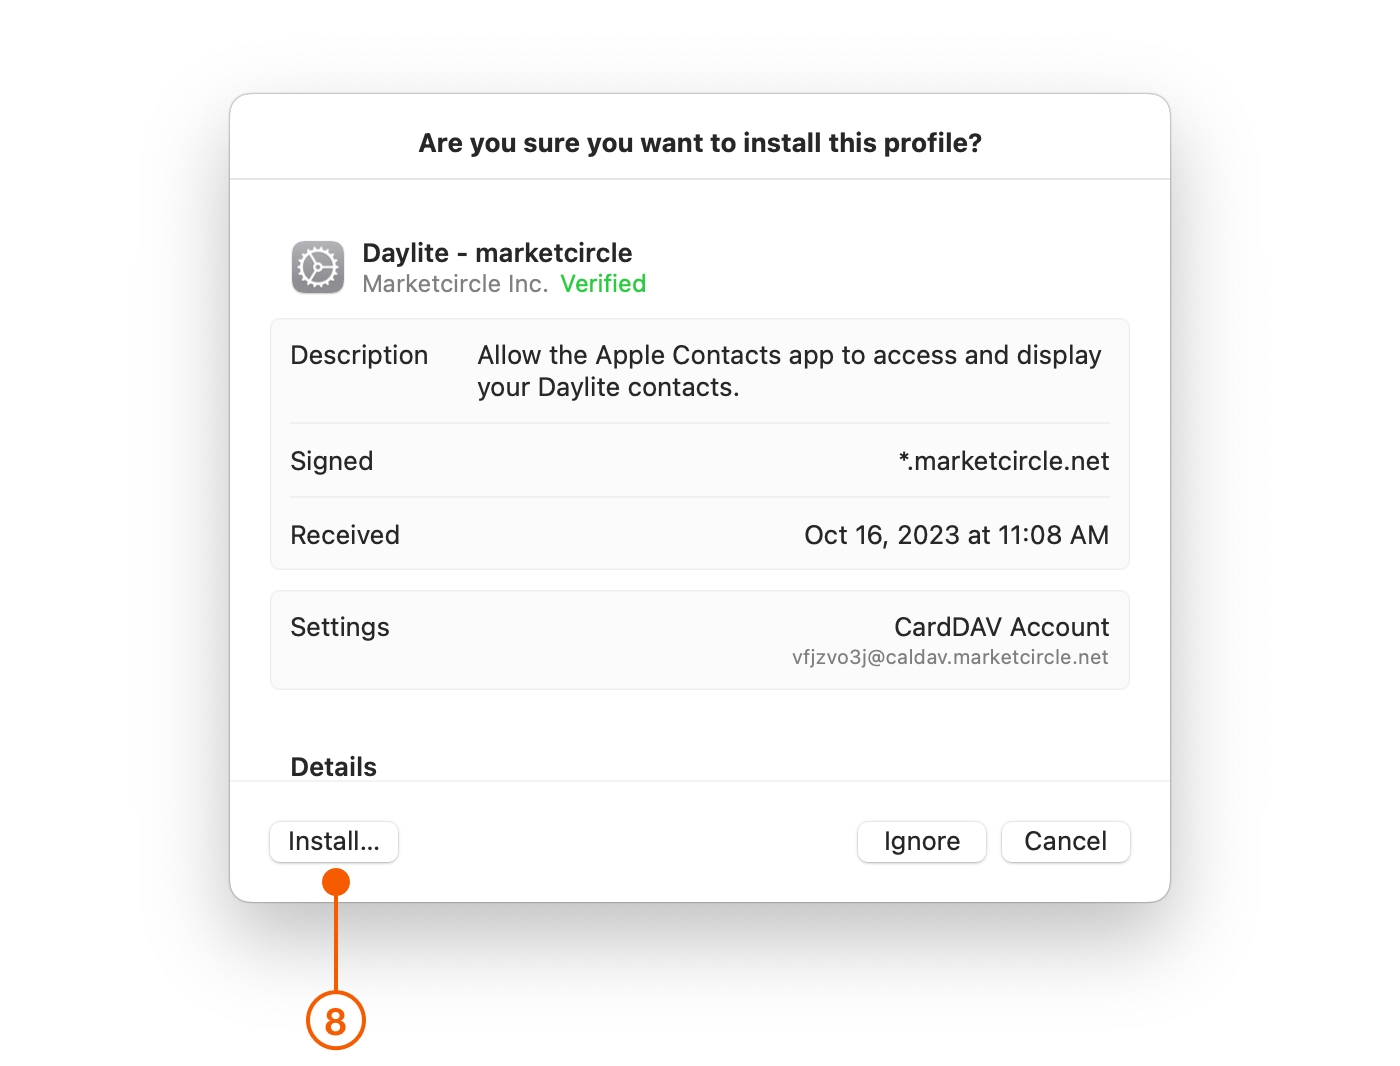
You will be presented with a confirmation window. Select Install.
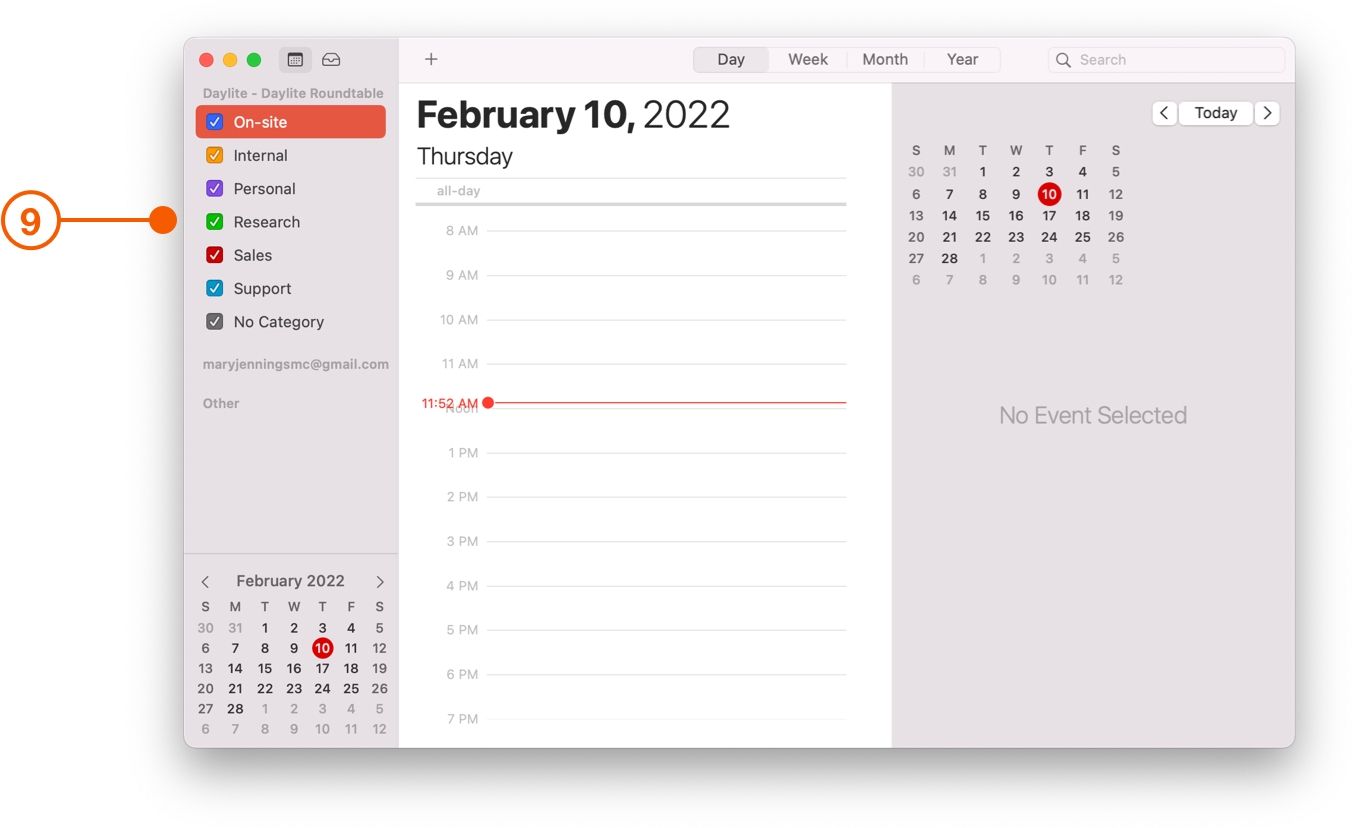
The next time you open Calendar on your Mac, you will see your Daylite meetings and appointments in a separate Calendar group.
Sharing your Daylite Calendar on the iPhone and iPad
Sharing your Daylite calendar to your iPhone and iPad lets you do things like make appointments with Siri, as well as create Tasks with the reminders app.
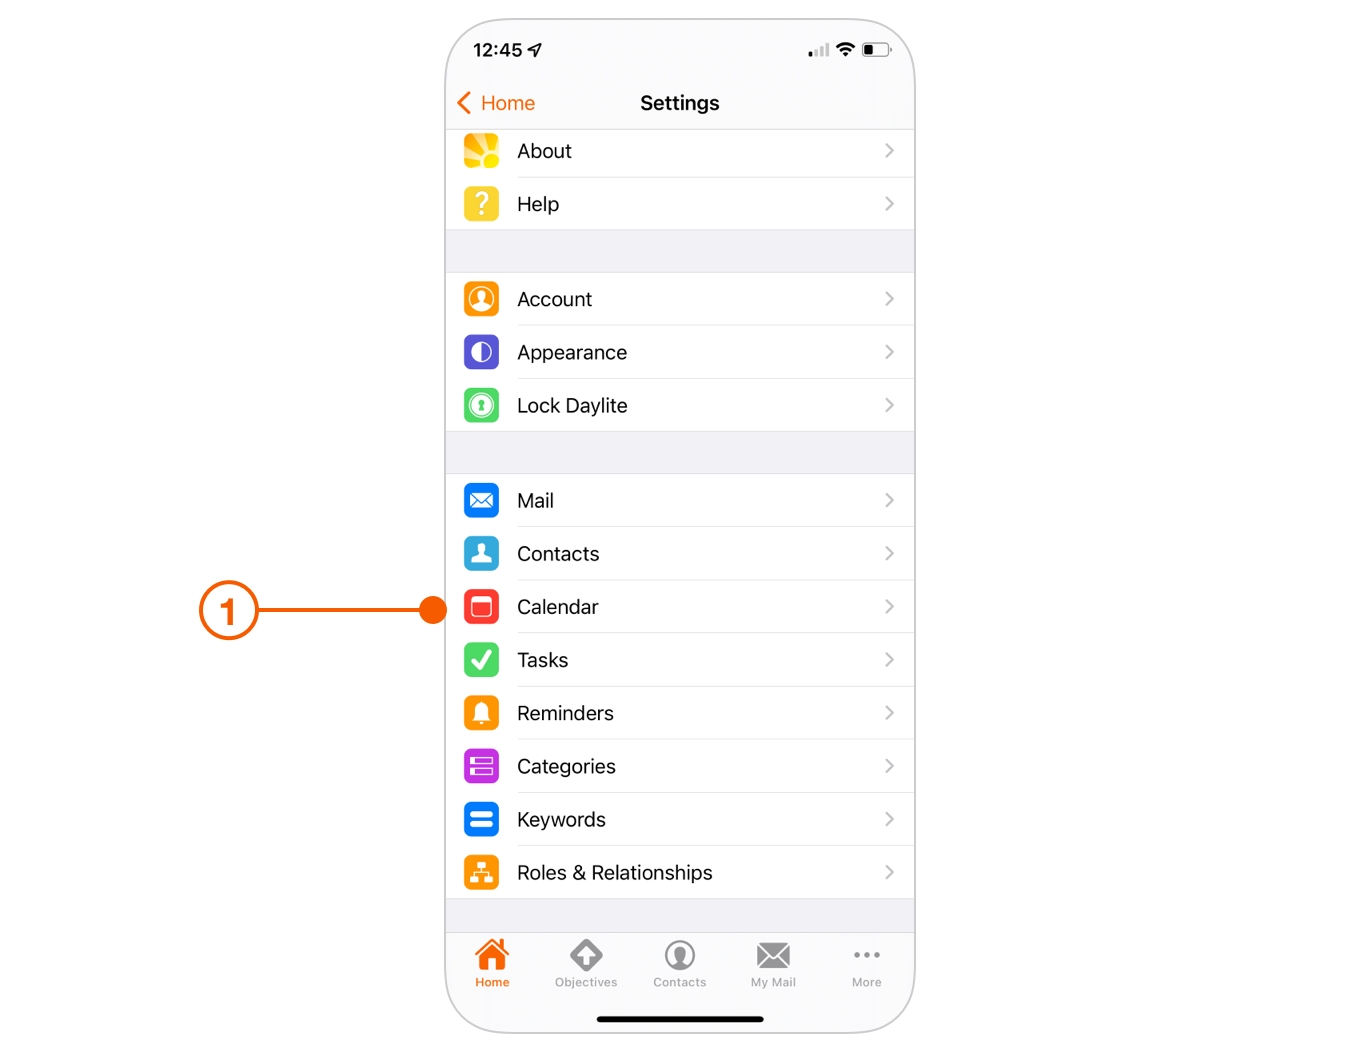
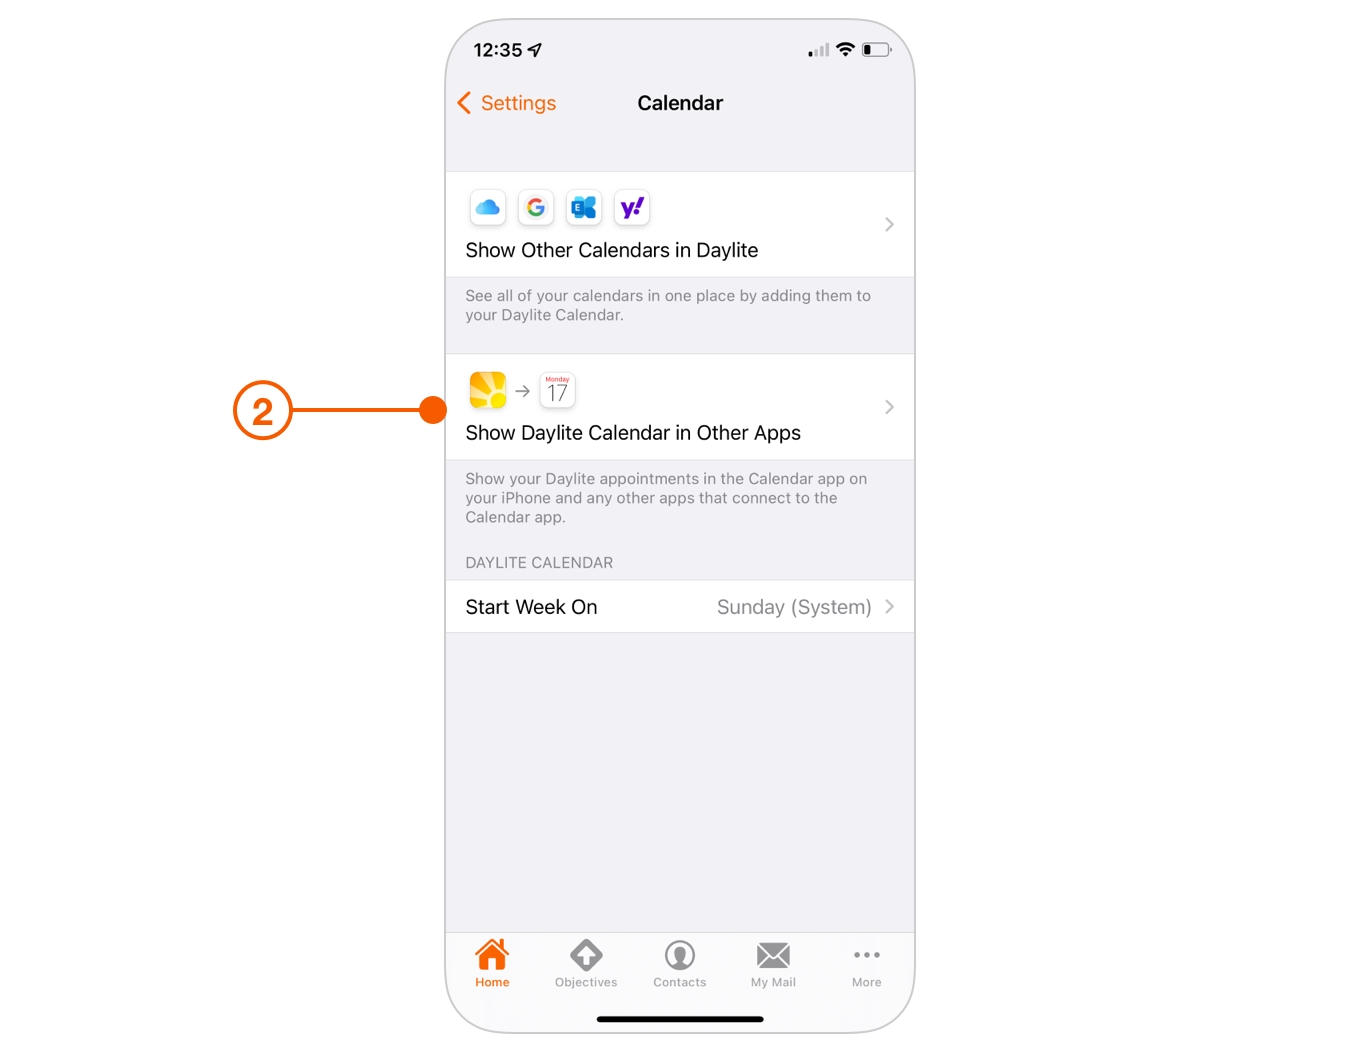
On the Daylite Home Screen navigate to Settings > Calendar.
Tap Show Daylite Calendar in Other Apps.
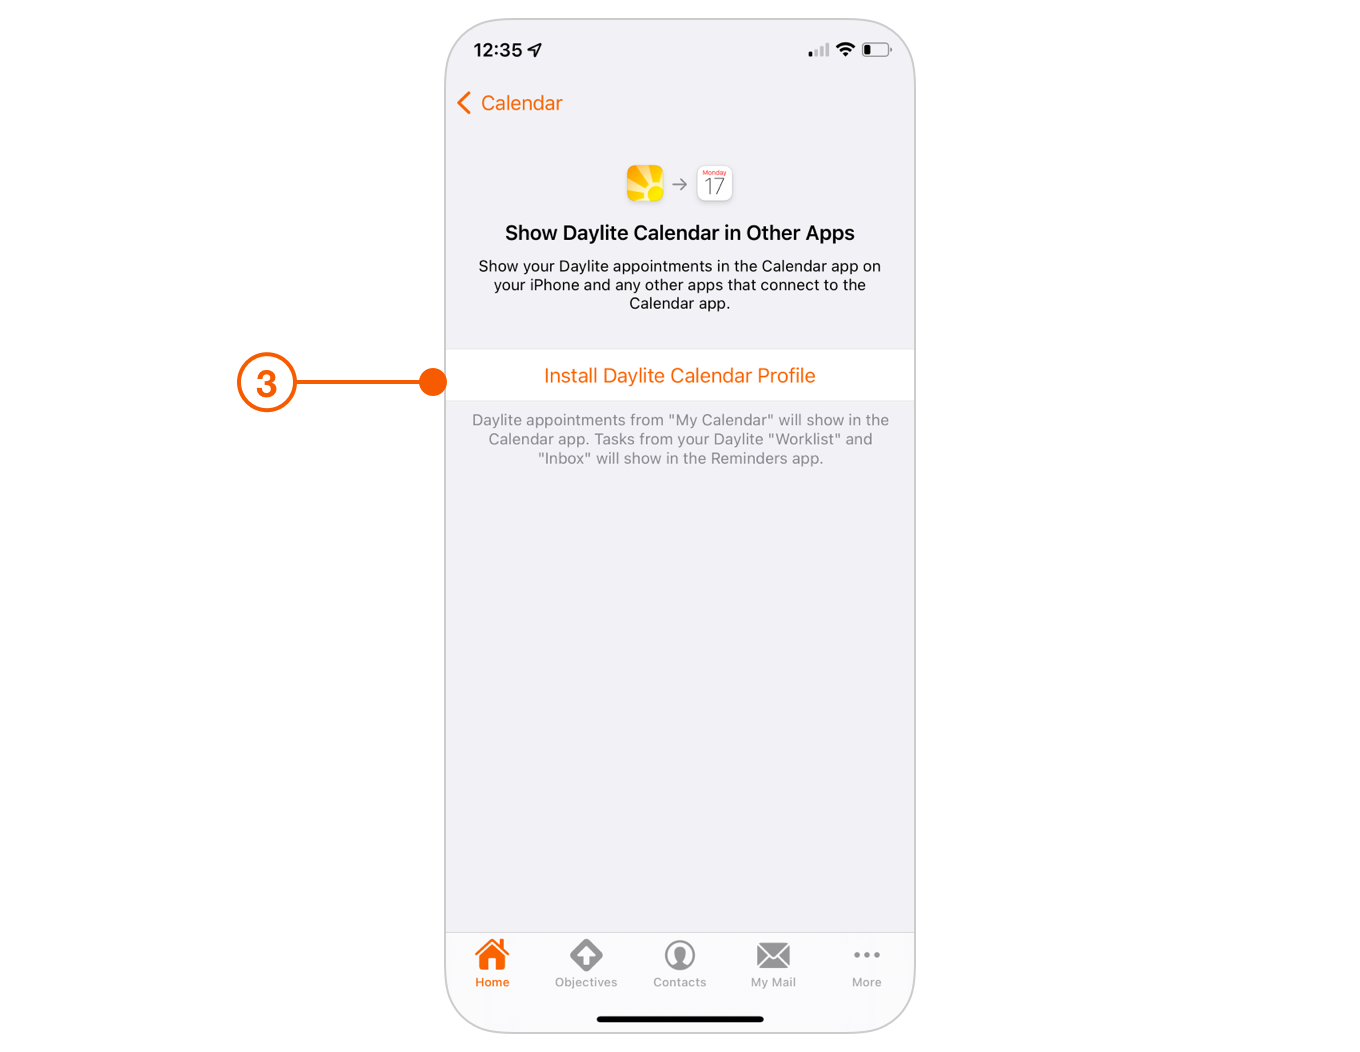
Click Install Daylite Calendar Profile.
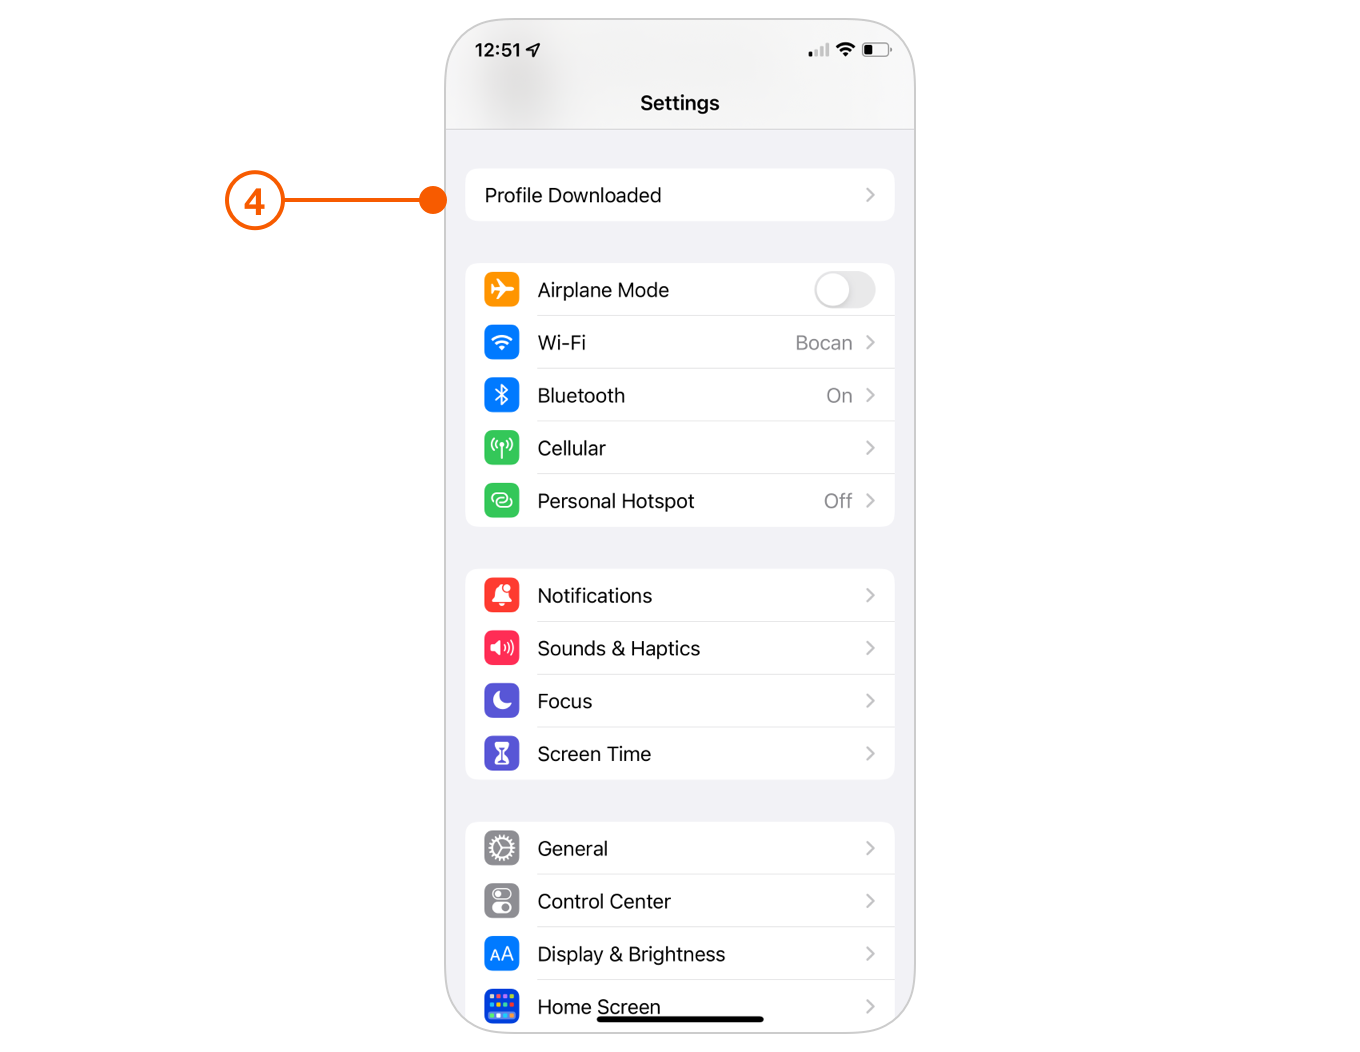
Navigate to iOS Settings > Profile Downloaded.
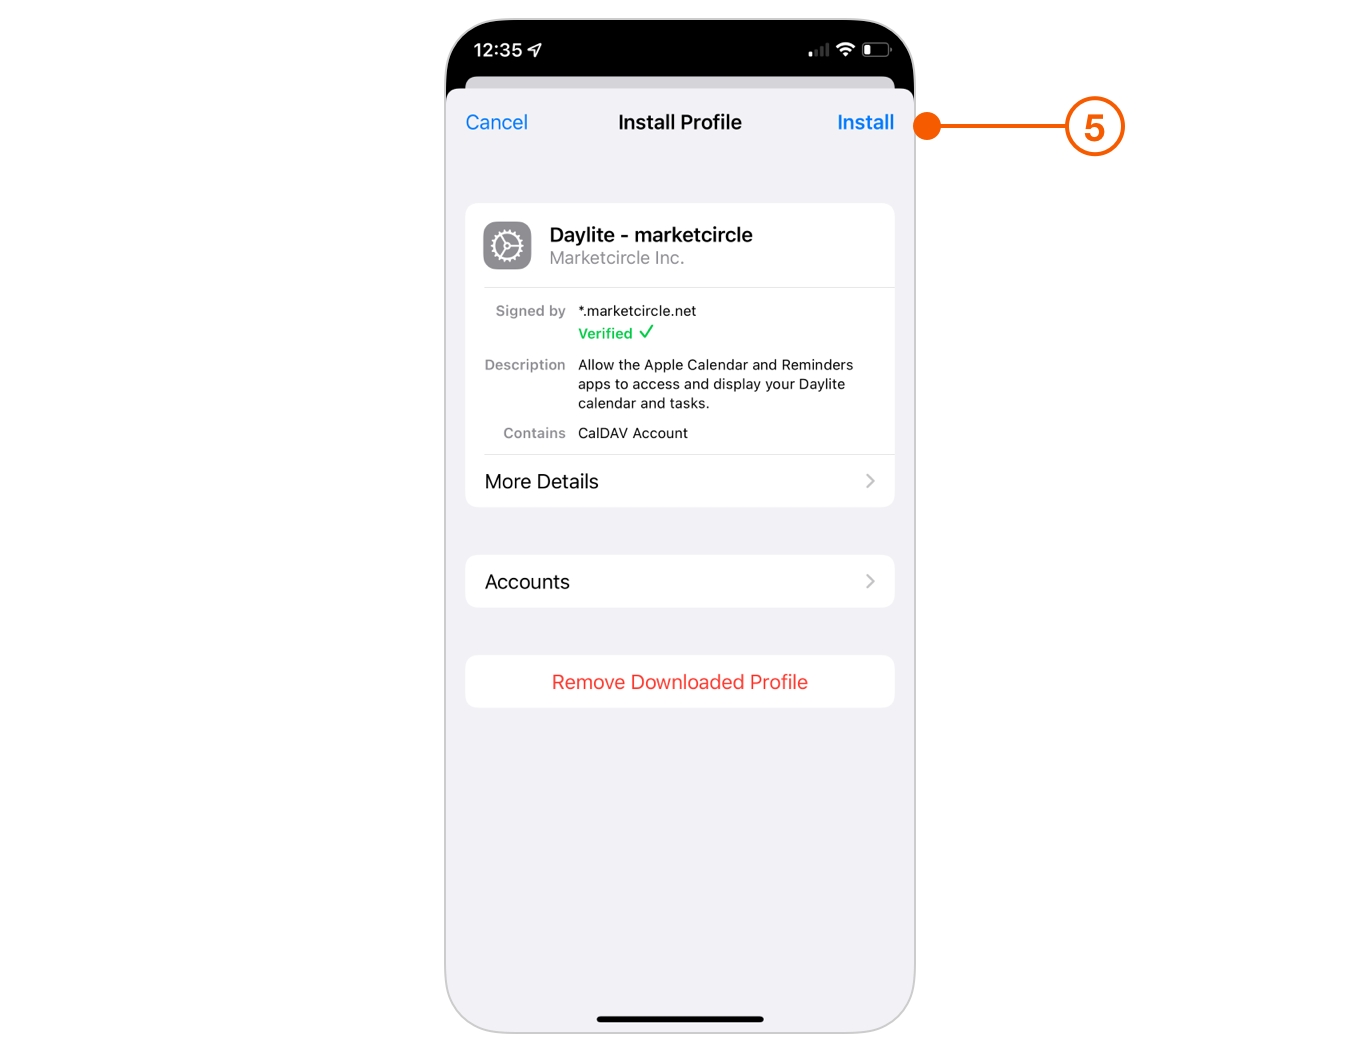
Click on the Install button.
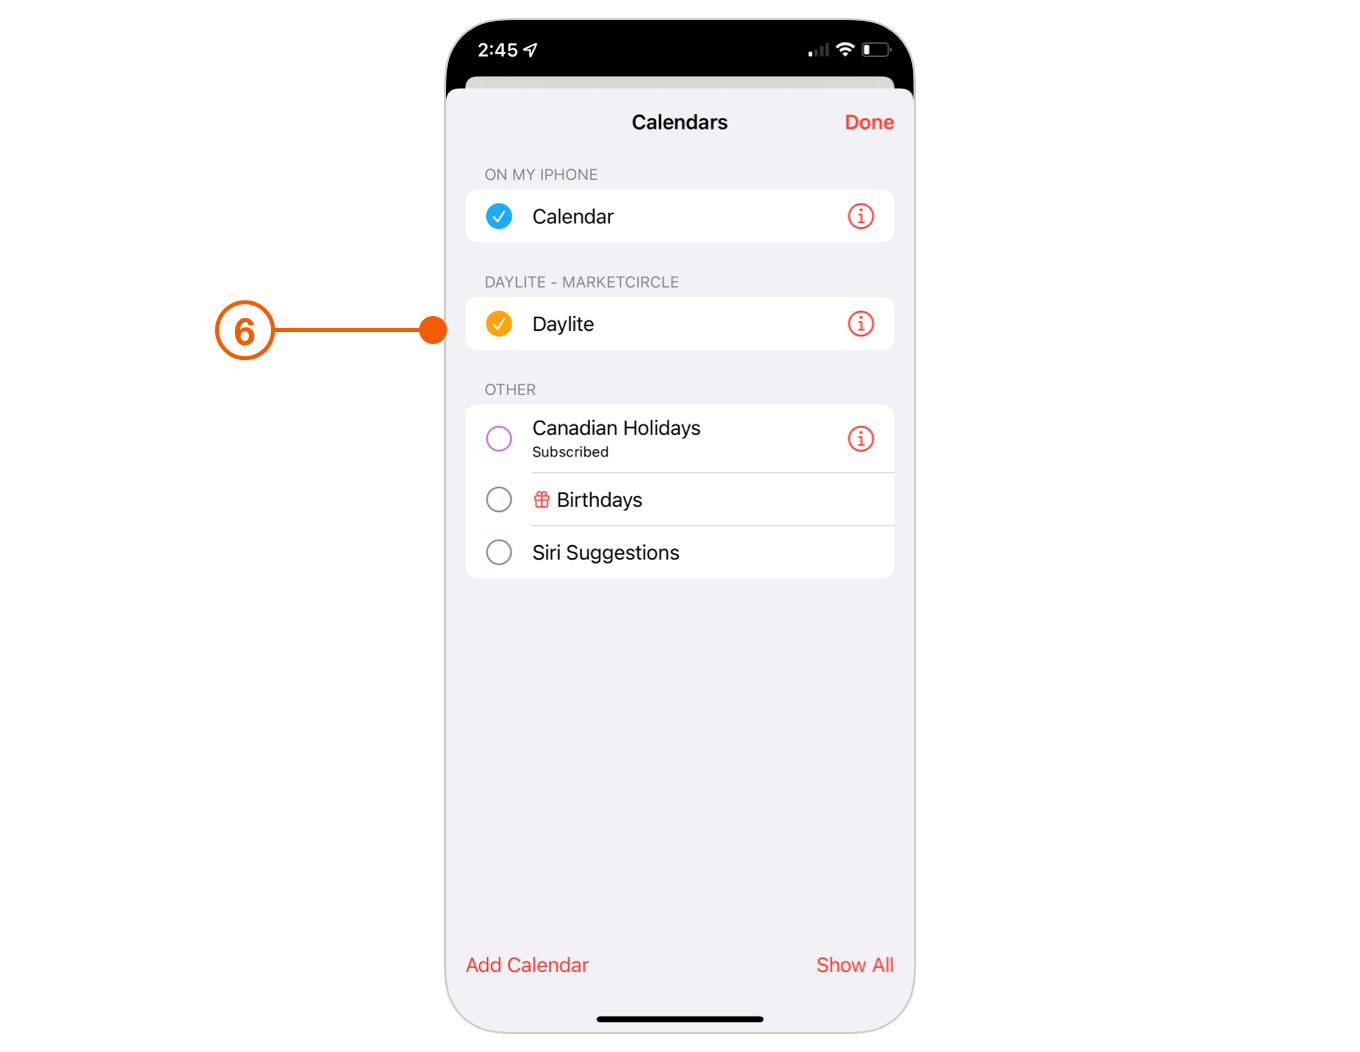
The next time you open the Calendar app on your iPhone or iPad, you will see your Daylite calendars in a separate Daylite group.
Making Daylite your Default Calendar on the iPhone or iPad
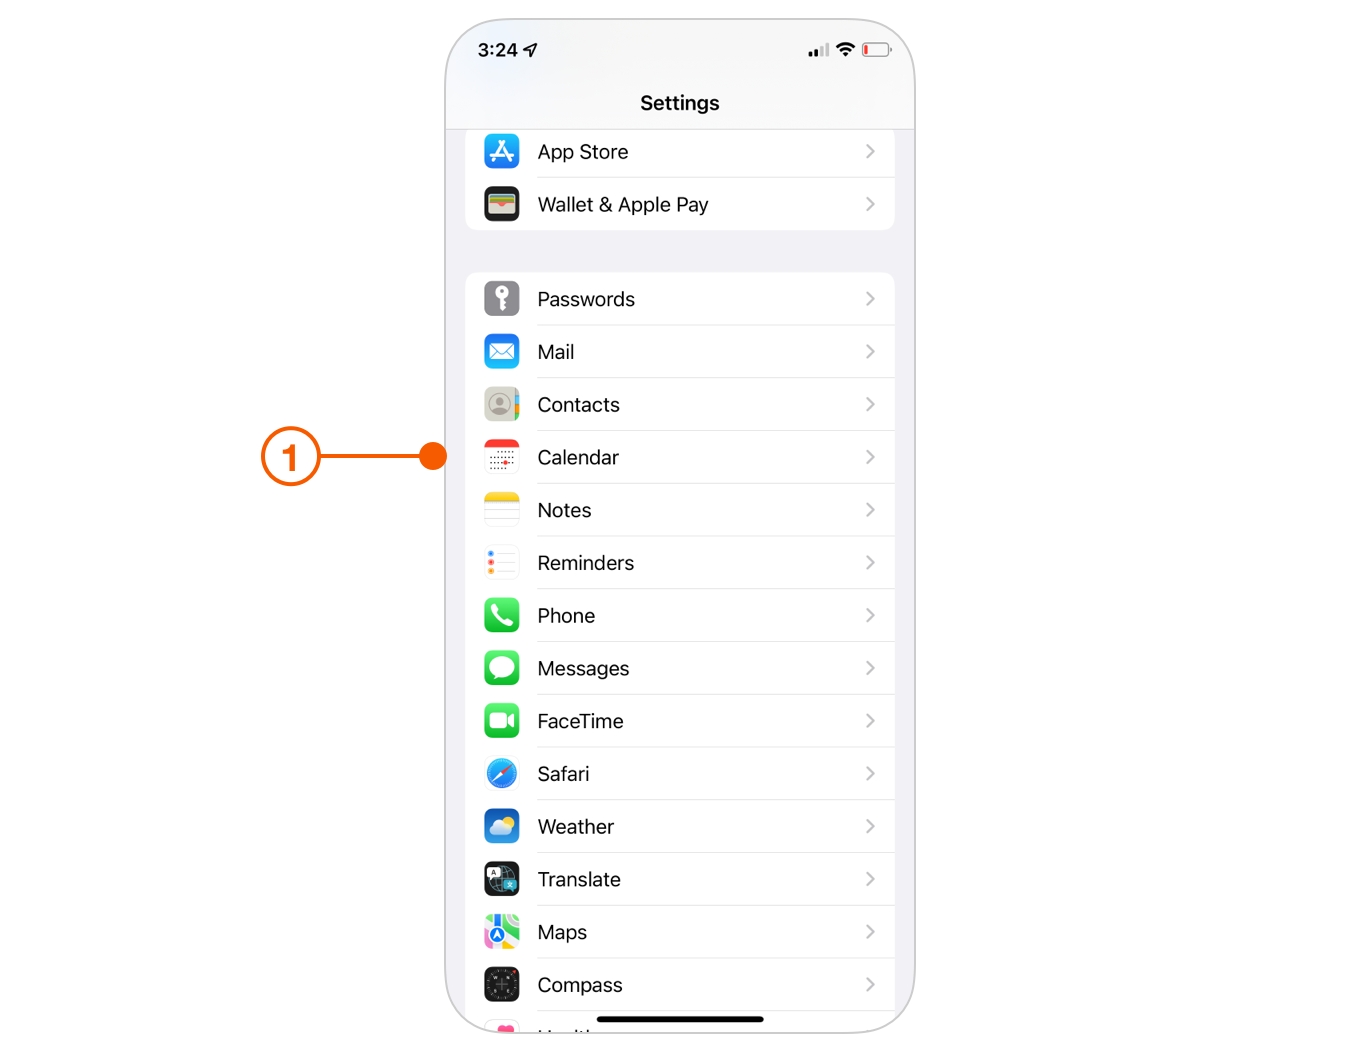
Navigate to Settings > Calendar on your iPhone or iPad.
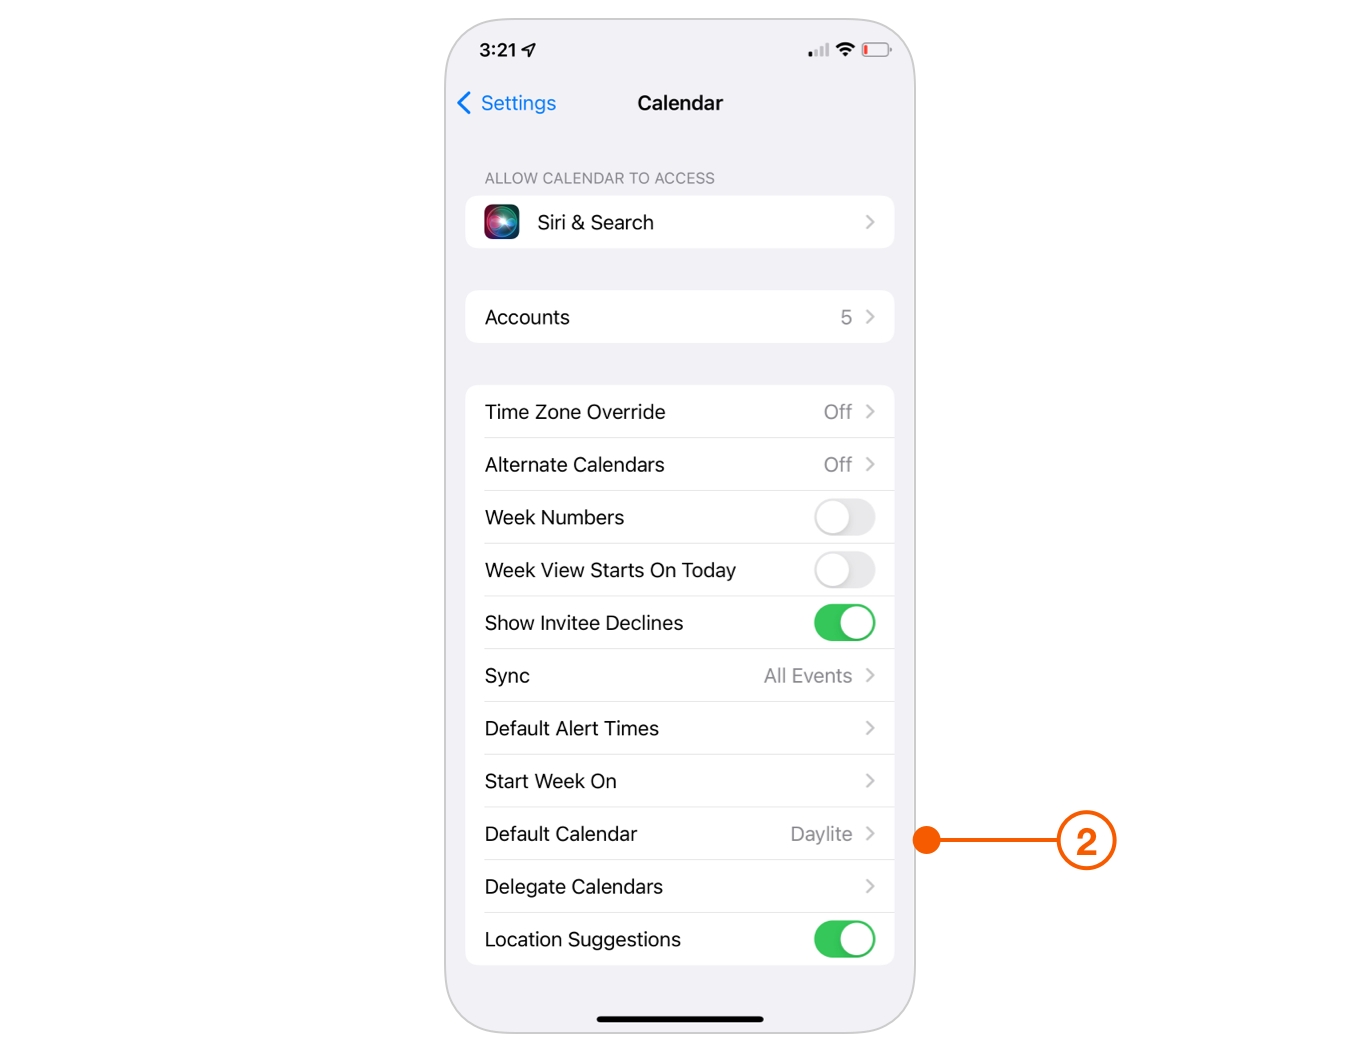
Tap Default Calendar and select your Daylite account.
Making Daylite your Default Calendar on the Mac
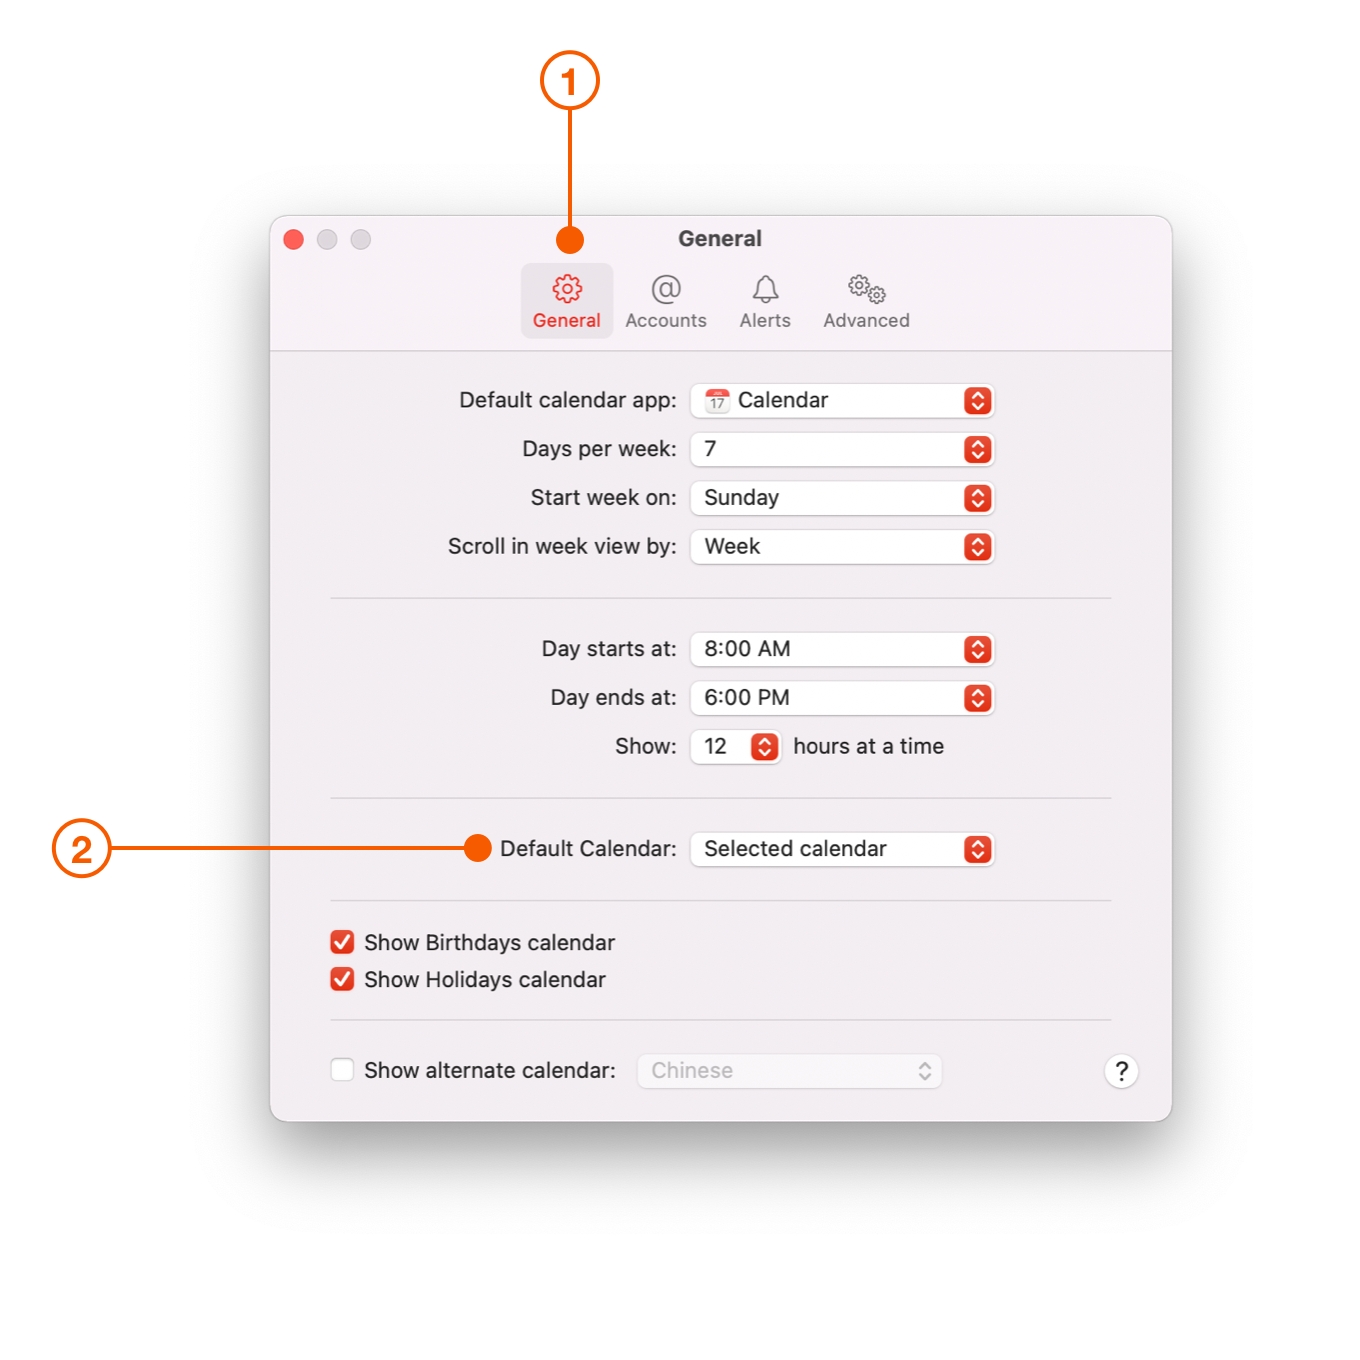
Navigate to Calendar > Settings > General.
Click Default Calendar and choose Daylite.
Wrap Up
With Daylite shared with the Calendar app on the Mac, iPhone, and iPad, you are well on your way to building more relationships, closing more deals, getting more done, and scaling your business in ways you never could before.
Want to share your Daylite contacts with other apps too? Then check out How to Share Your Daylite Contacts., and get ready to take your business to the next level.
Last updated