Controlling Who Can See and Edit Information
As you begin to use Daylite to its fullest extent you will notice your team beginning to work more efficiently. However, it may not make sense for everyone to have full access to your database. Employees for example do not need to see confidential HR records.
Daylite lets you control who can see or edit information.
What Are Permissions
Every business has sensitive information. That's why you can apply permissions to individual items in Daylite.
There are two types of permissions:
View: Only those with View Permissions on an item can see an item they don't own. Denying view permissions is useful when items should only be seen by managers like employee reviews, or meeting minutes between the executive team.
Edit: Only those with Edit Permissions on an item can edit an item they don't own. Denying edit permissions is useful when you have a Project that only a project manager should edit, or if you are documenting important decisions that you wouldn't want changed.
Turning on Permissions
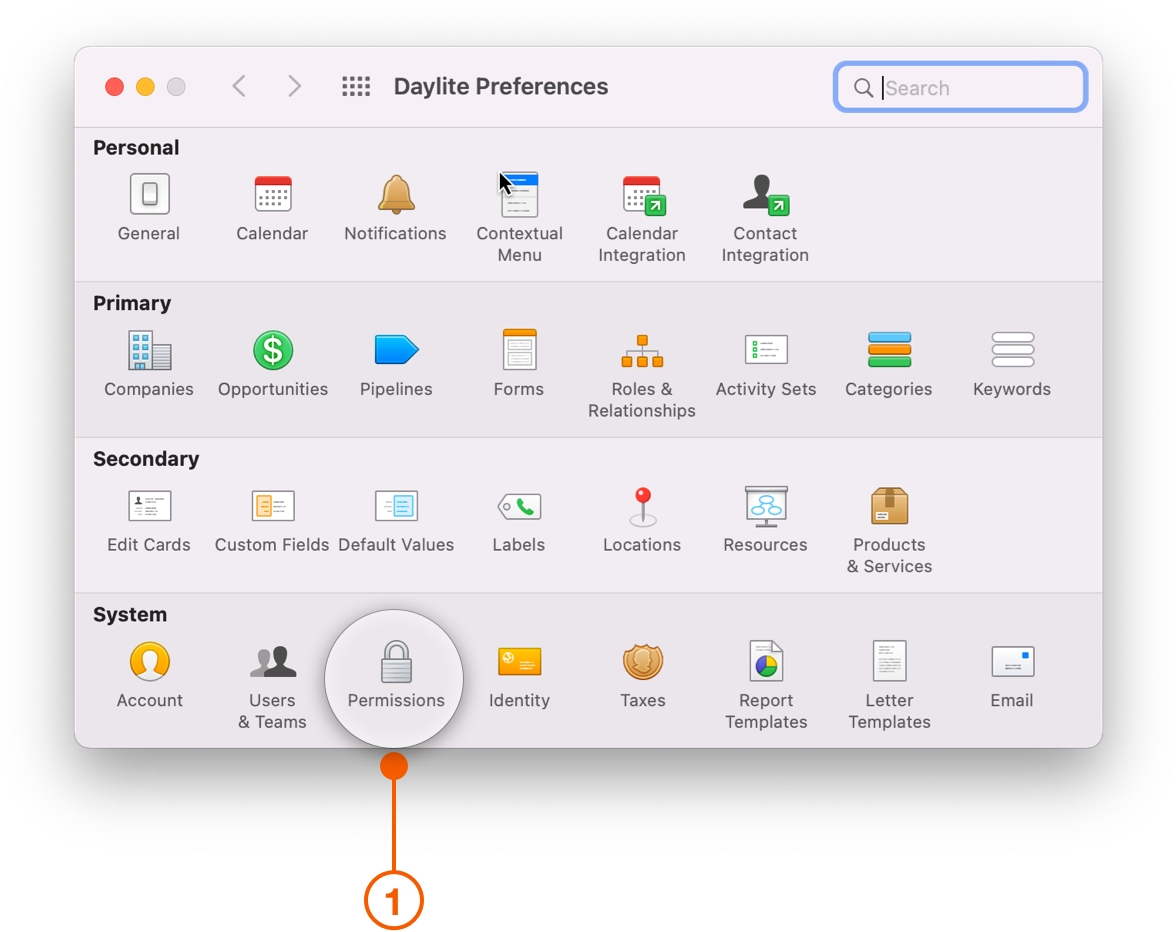
Choose Daylite > Preferences.
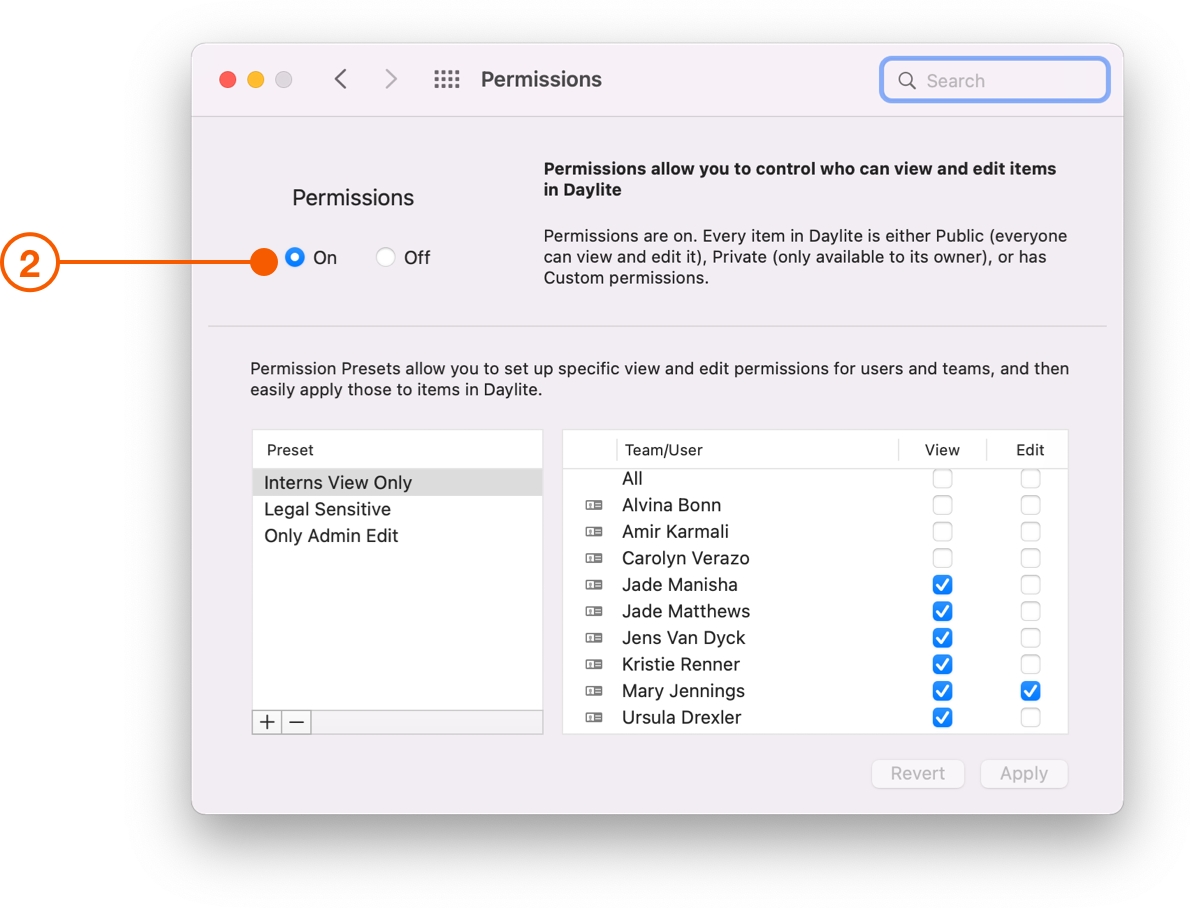
Choose Permissions then click On.
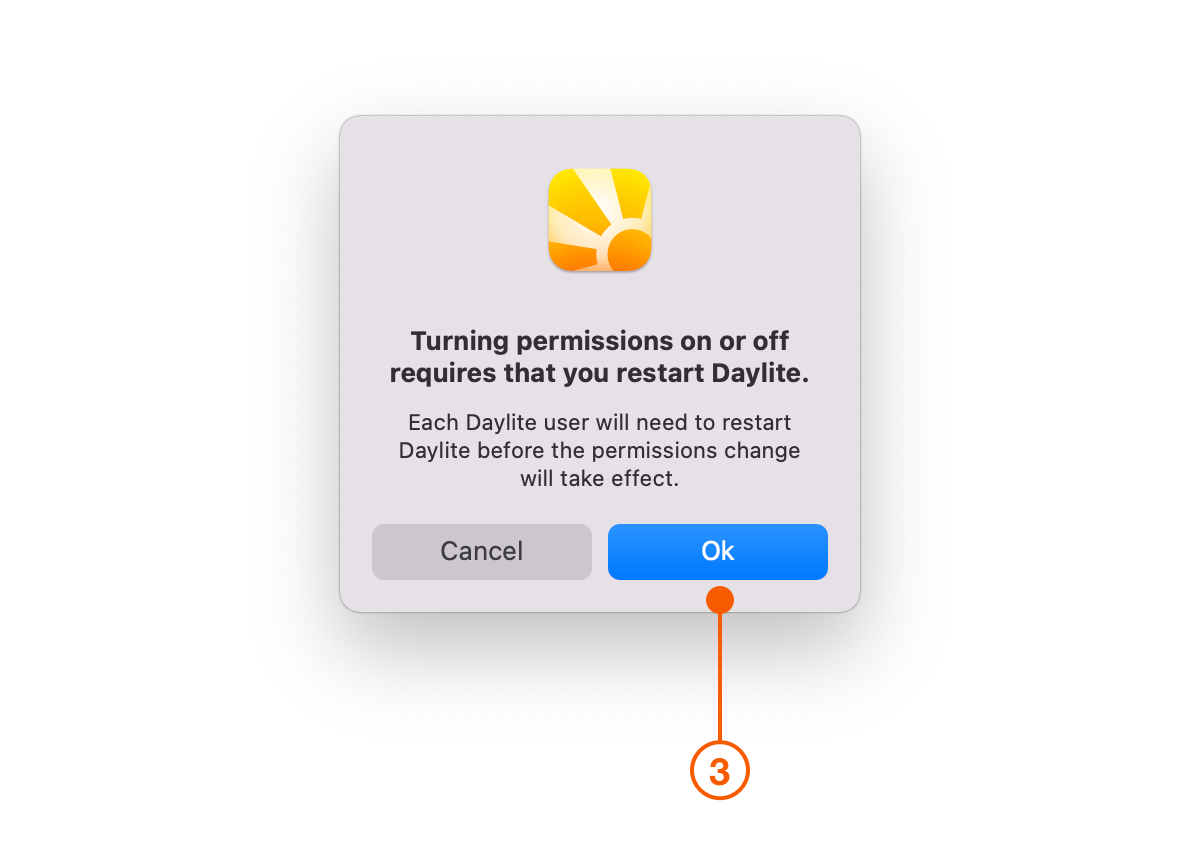
When prompted to restart Daylite click OK.
Changing Viewing and Editing Permissions
Assigning permissions is easy and can be done in a few clicks. You can change permissions at any point, and they will update on the next sync.
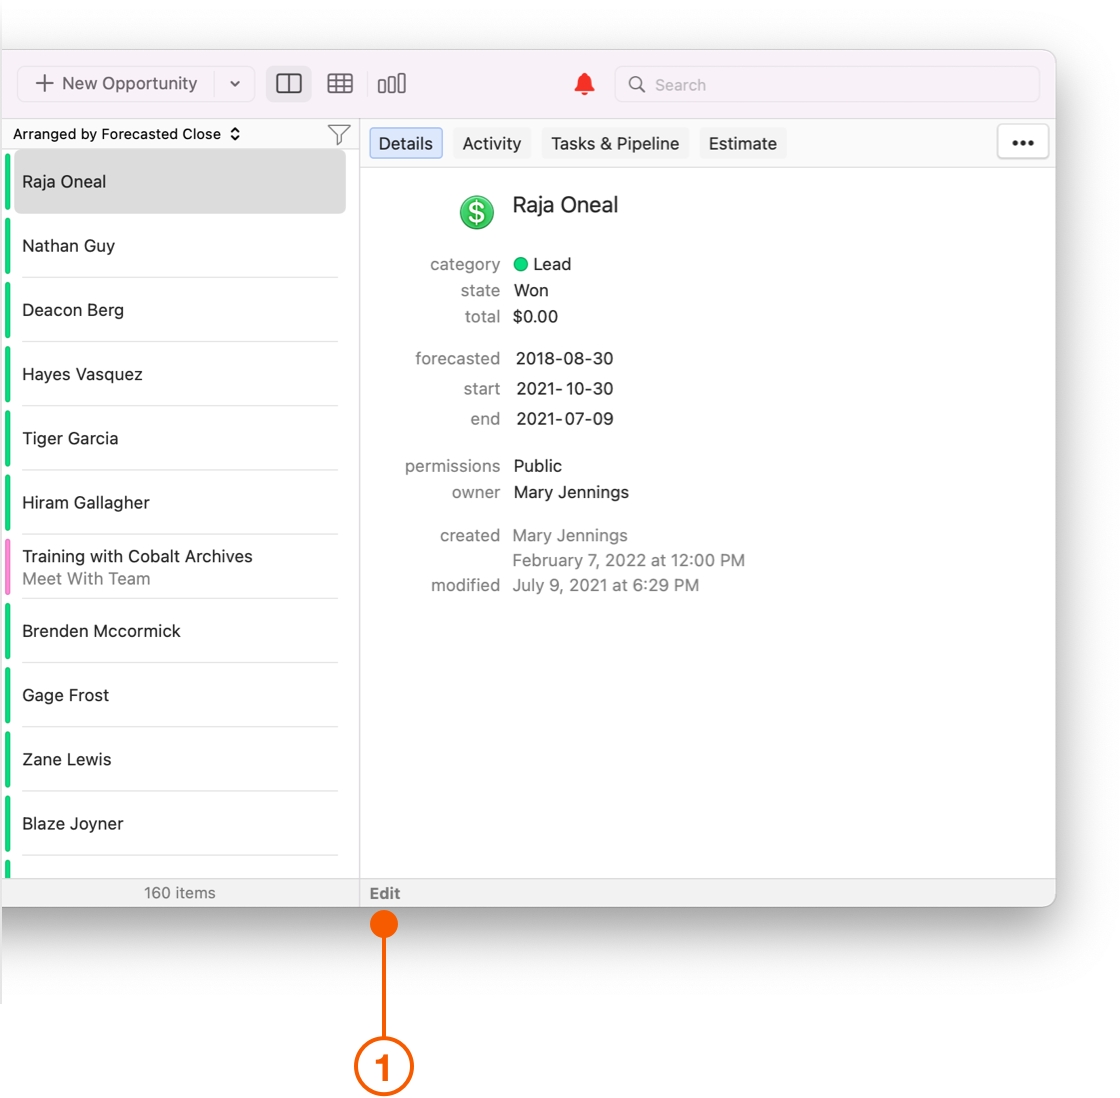
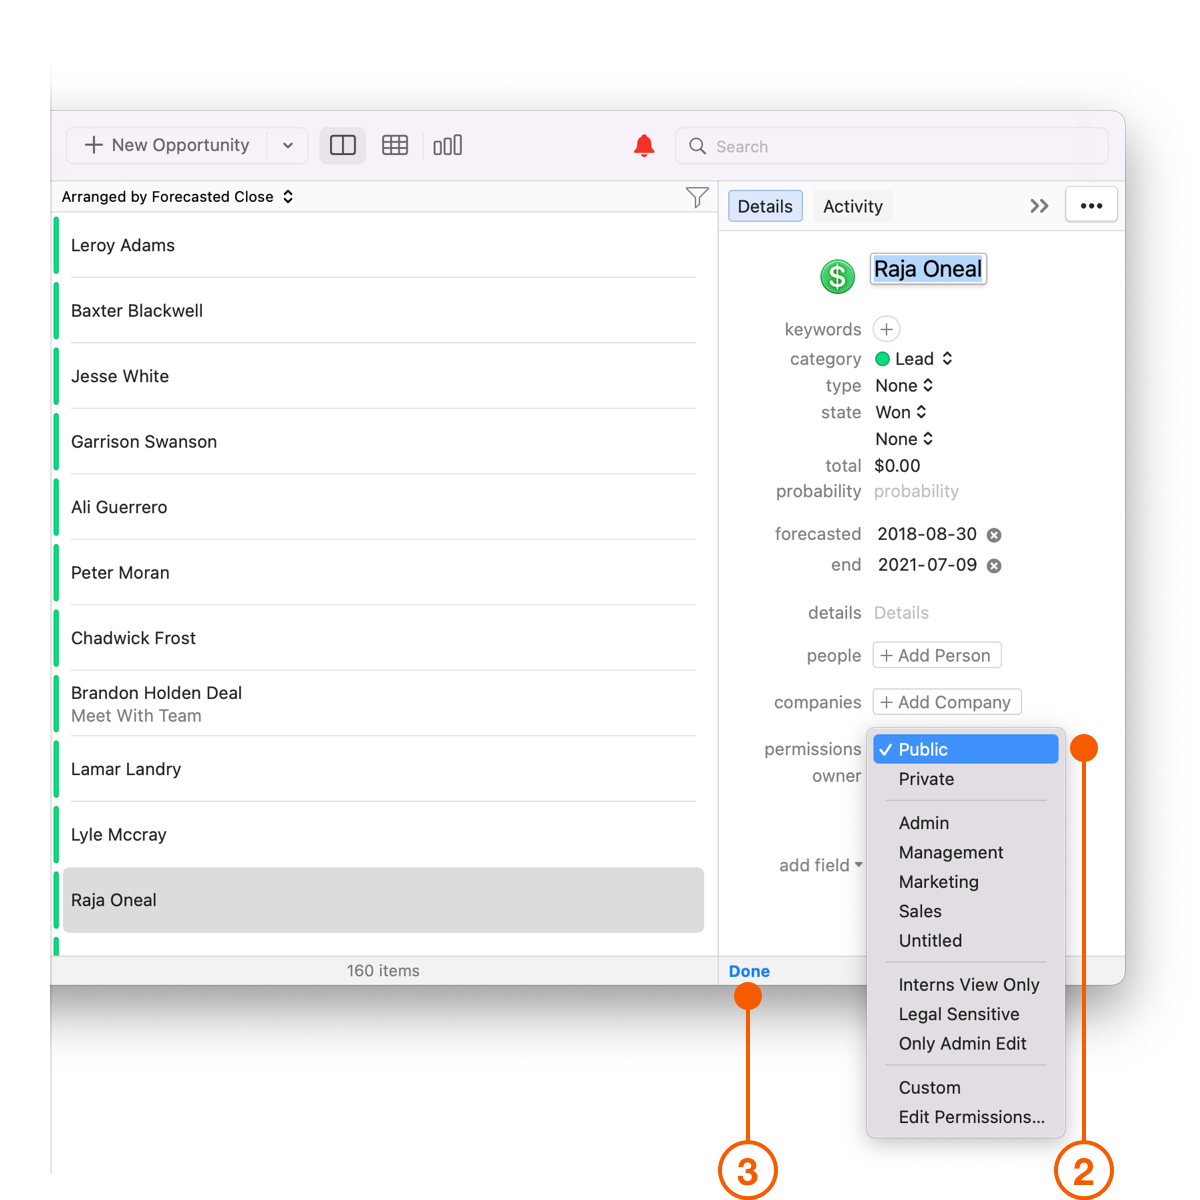
Select an item in Daylite and click Edit.
Click Permissions.
Select the appropriate permission and click Done.
When editing permissions, you will see the view and edit permissions for each person on your team as well as two presets: Public and Private. These permissions let you quickly allow or deny, view, read, and edit permissions for everyone.
Public: Anyone can view and edit this item.
Private: Only the owner can view and edit this item.
Pro Tip:
Instead of assigning permission to one person at a time, set up permissions for entire teams by Organizing Your People into Teams.
Wrap Up
Give your team one place to store all their information, while making sure that the information is still sharable with the right people and teams.
Last updated
