Invite Your Team
Daylite works well for a single person, but when used with your team, you really start to see the difference. With everyone on your team using Daylite, processes become streamlined, and everyone works together better.
When you add someone to Daylite, you invite them to your account by email. Only a Daylite account owner can invite team members to Daylite. After an invitation is accepted, you are charged based on the amount remaining in your billing cycle.
Invite your team to Daylite and take your business further.
How to add your Team to Daylite
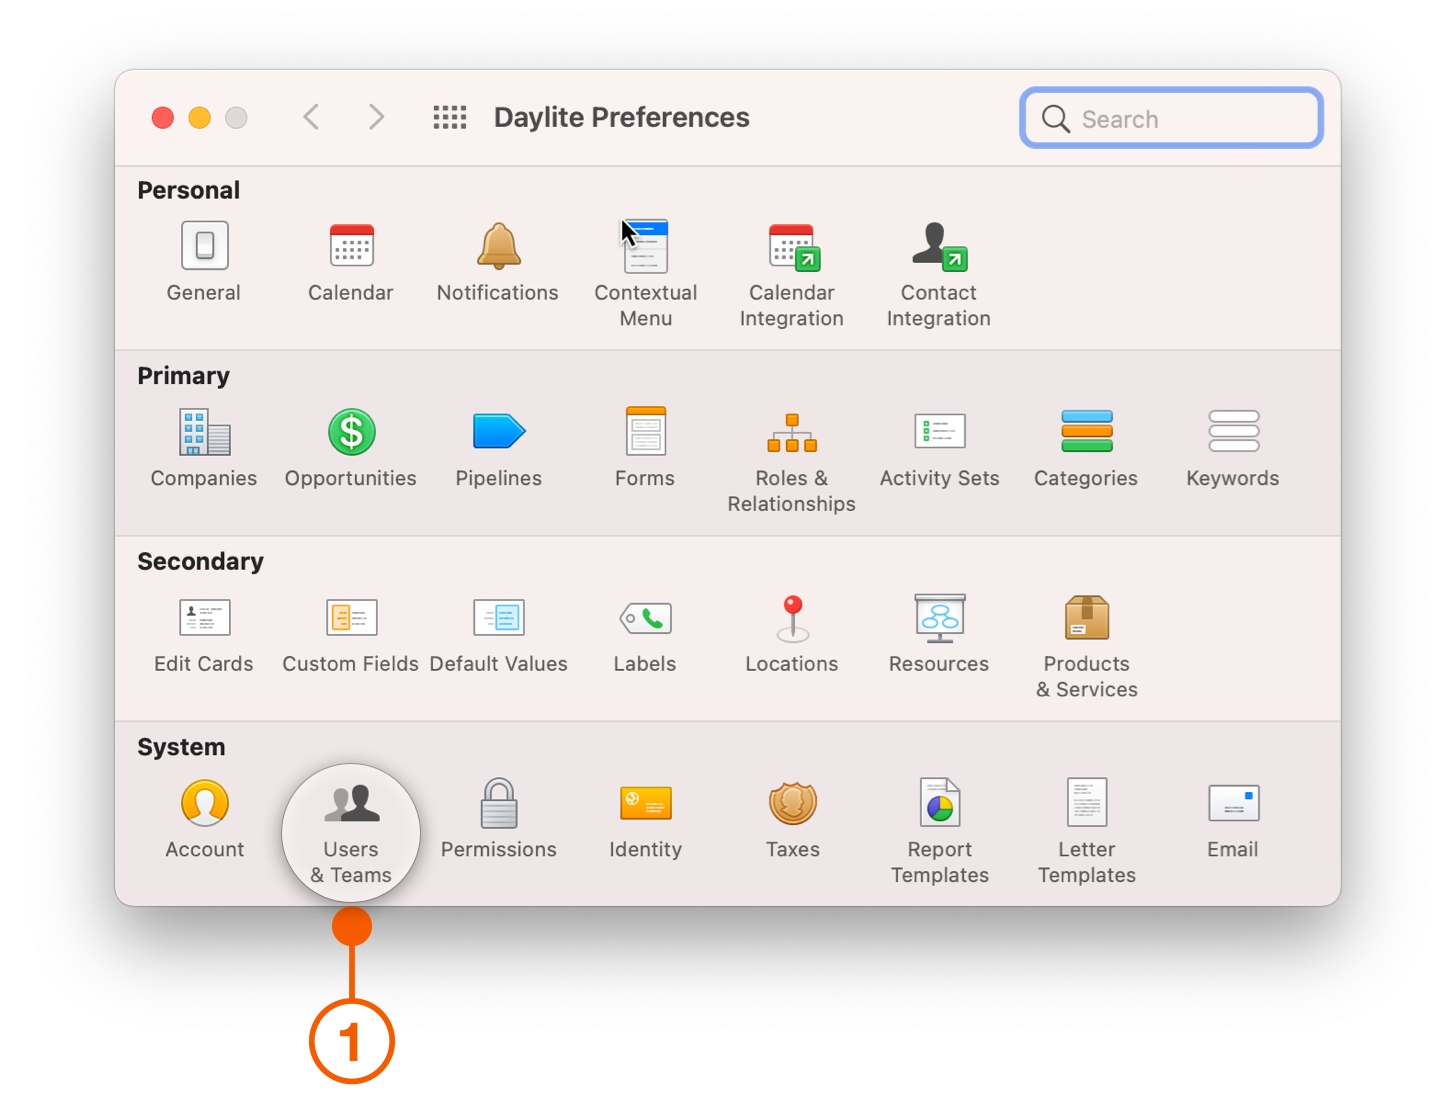
Choose Daylite > Settings and select Users and Teams.
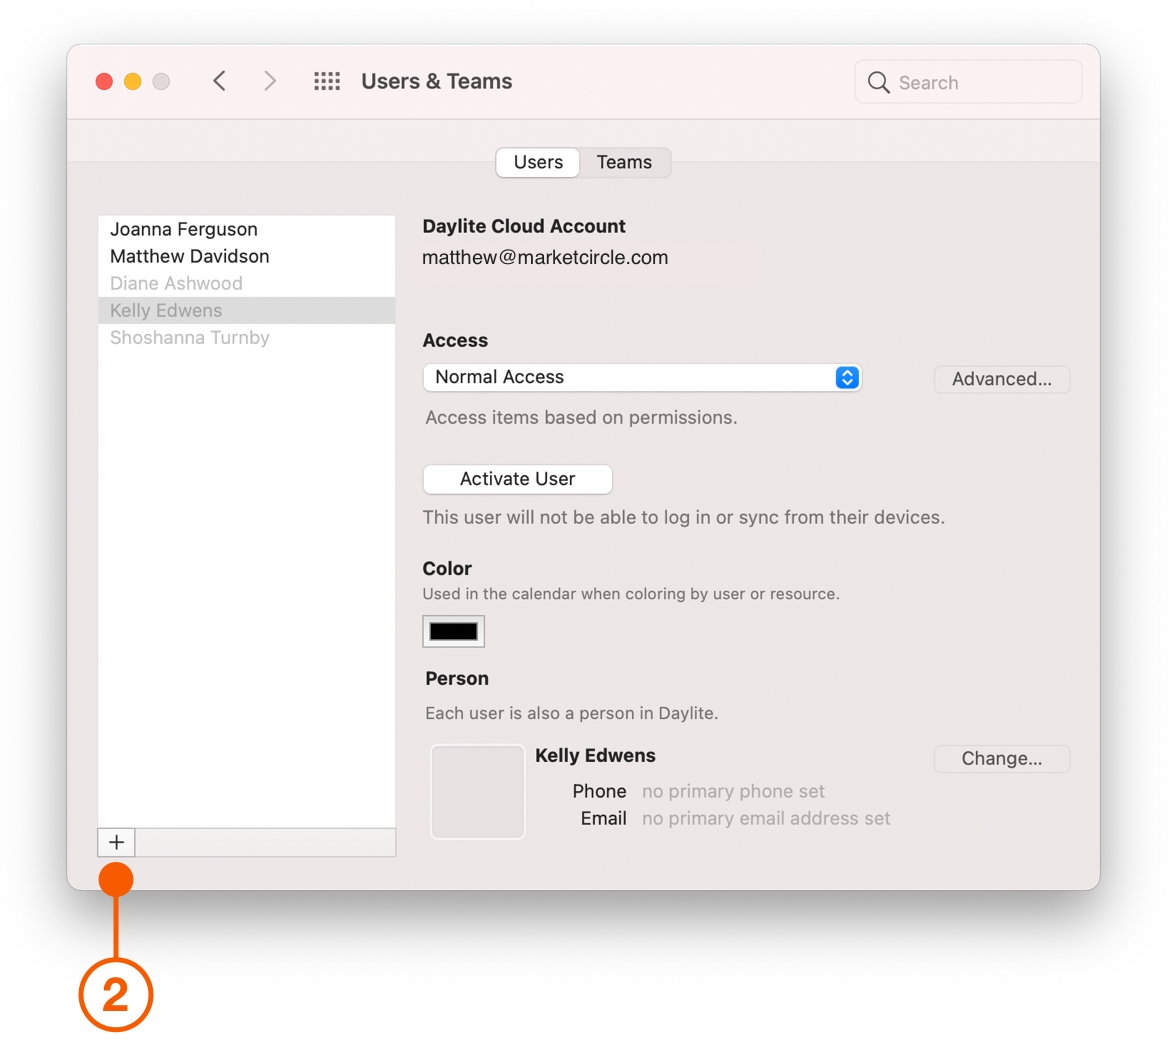
Click the + in the lower left-hand corner.
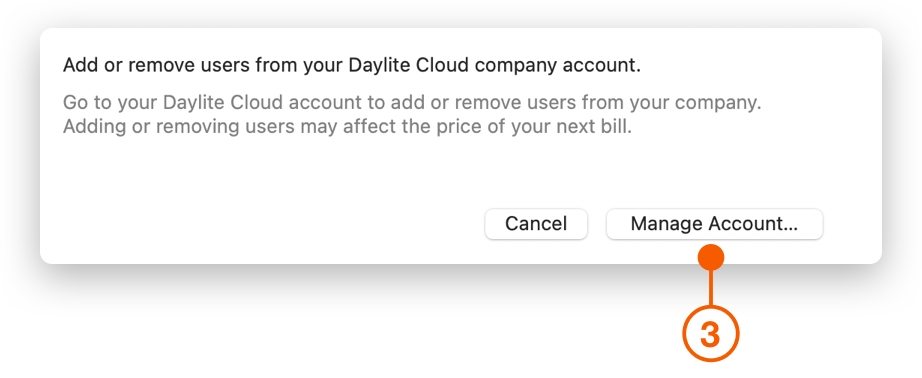
Click Manage Account....
After you click Manage Account... your browser will open to Account Manager. Please note that you must have empty seats available to invite people to join. If you have more than one person to add, repeat the steps in Account Manager until you have invited everyone.
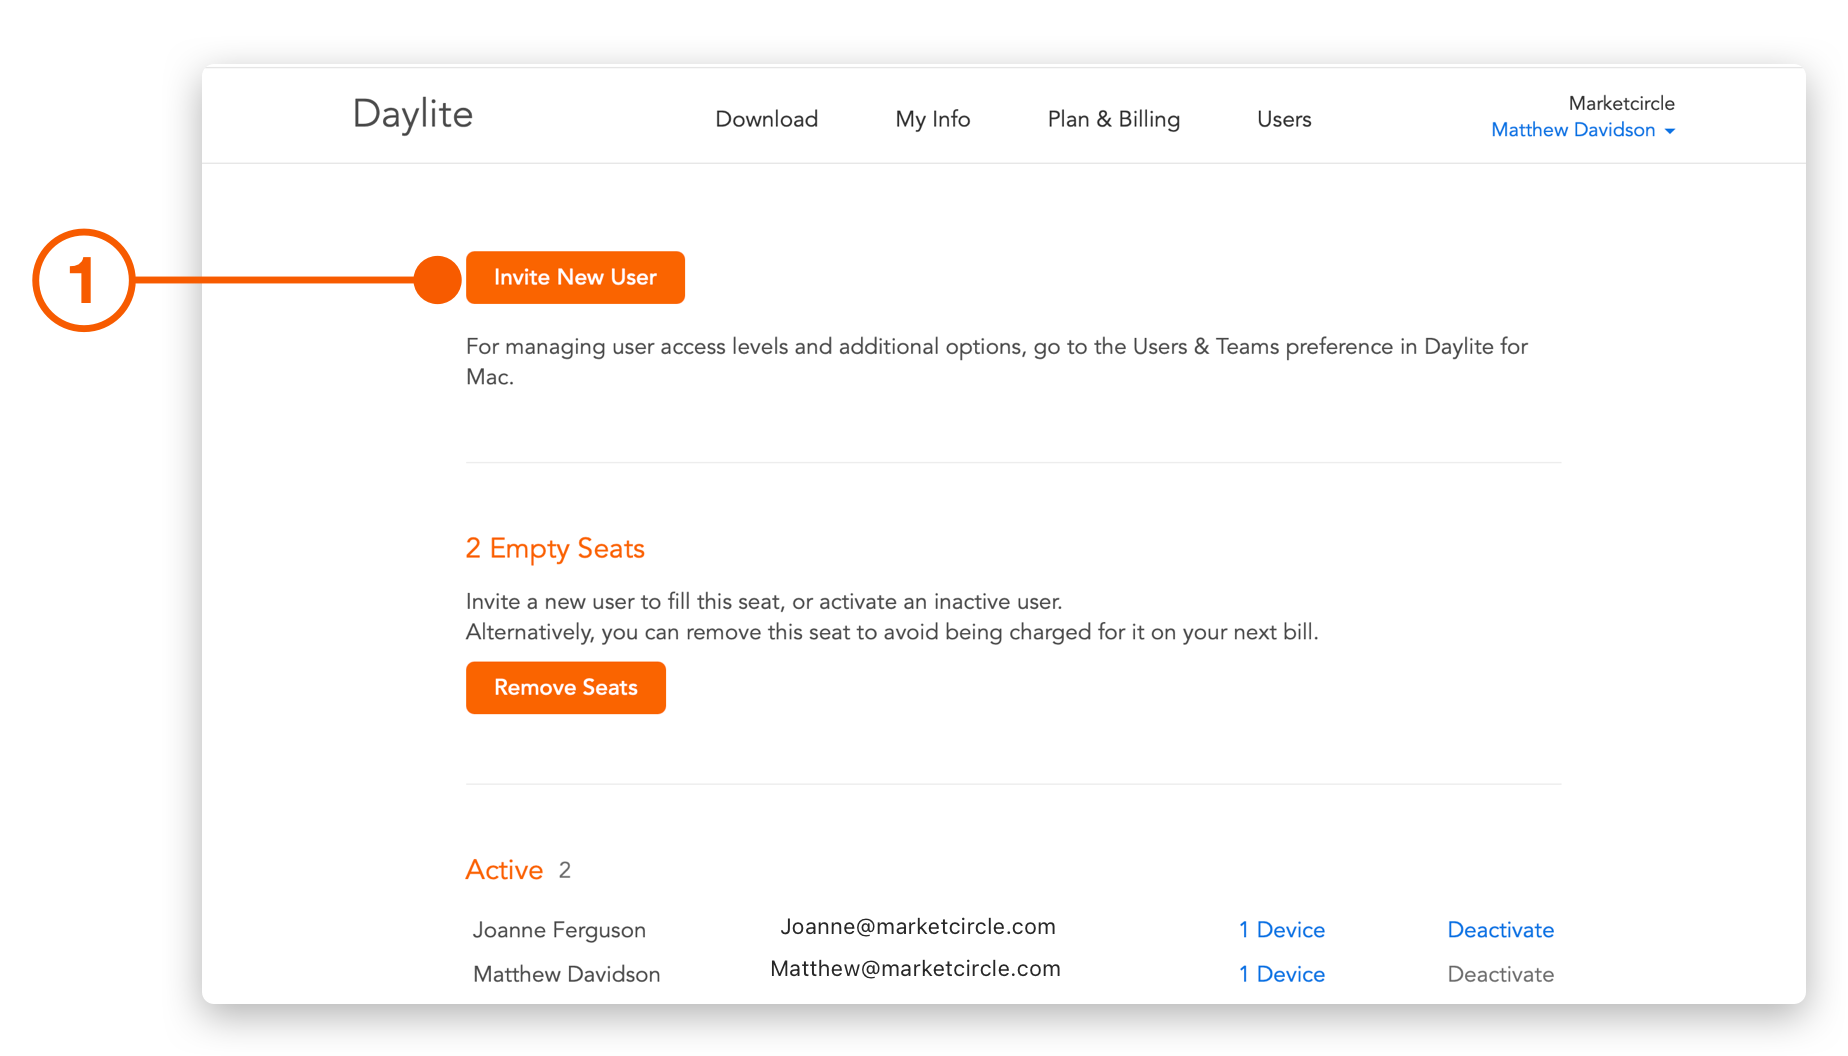
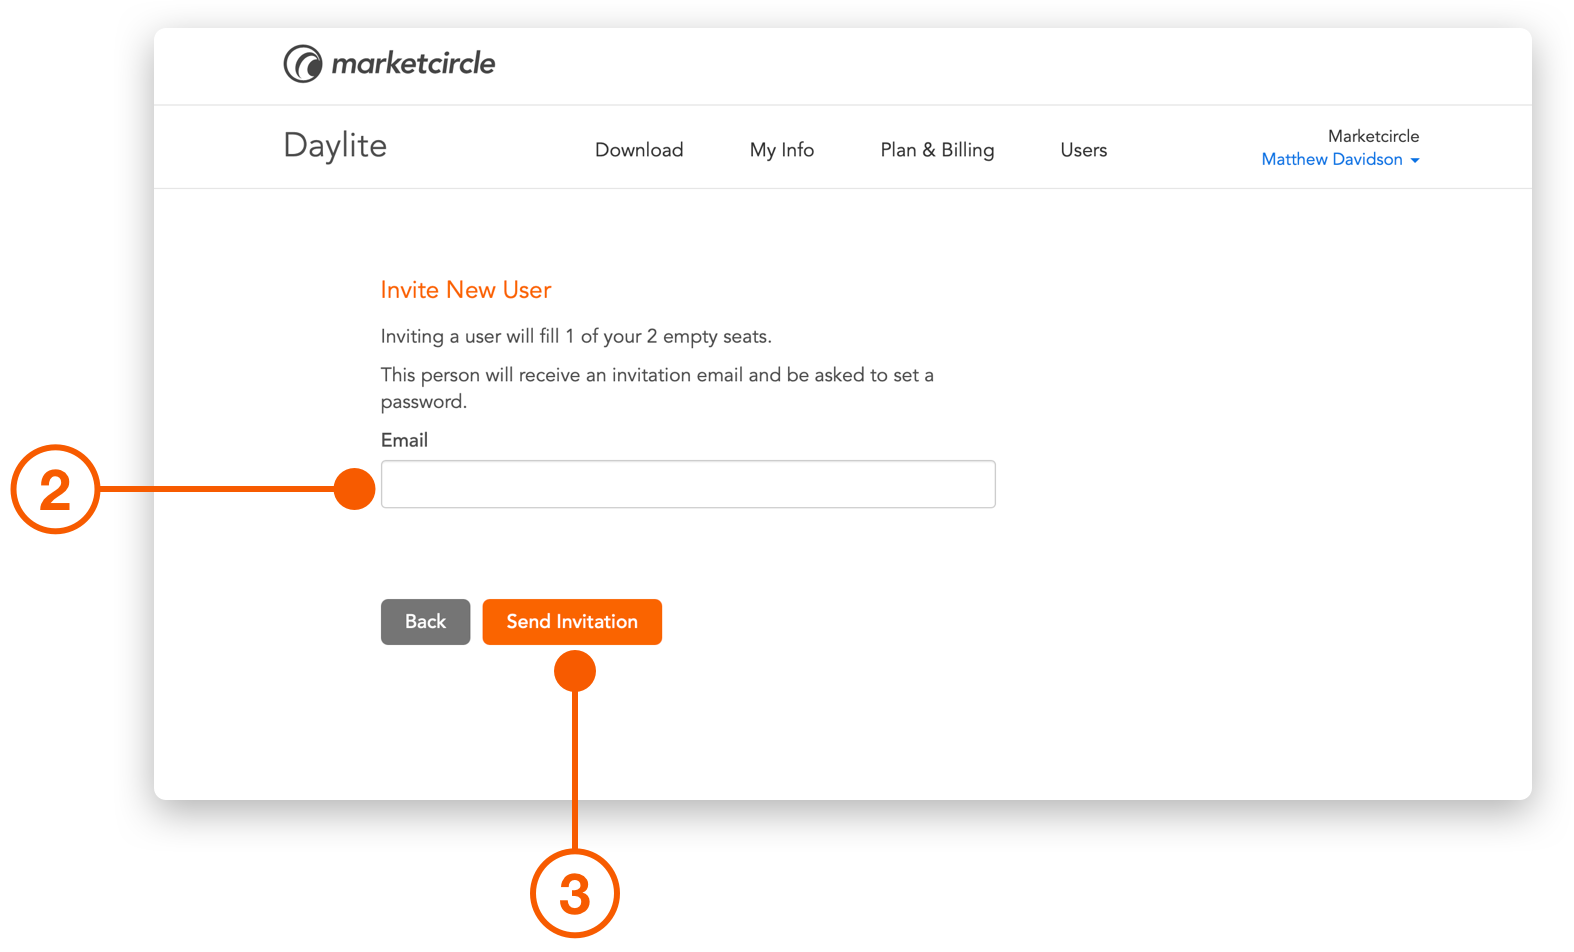
Click Invite New User.
Type the email address of a person you want to invite to Daylite.
Click Send Invitation.
Accepting a Daylite Invite
Ask your team to check their inbox for the invite and have them do the following:
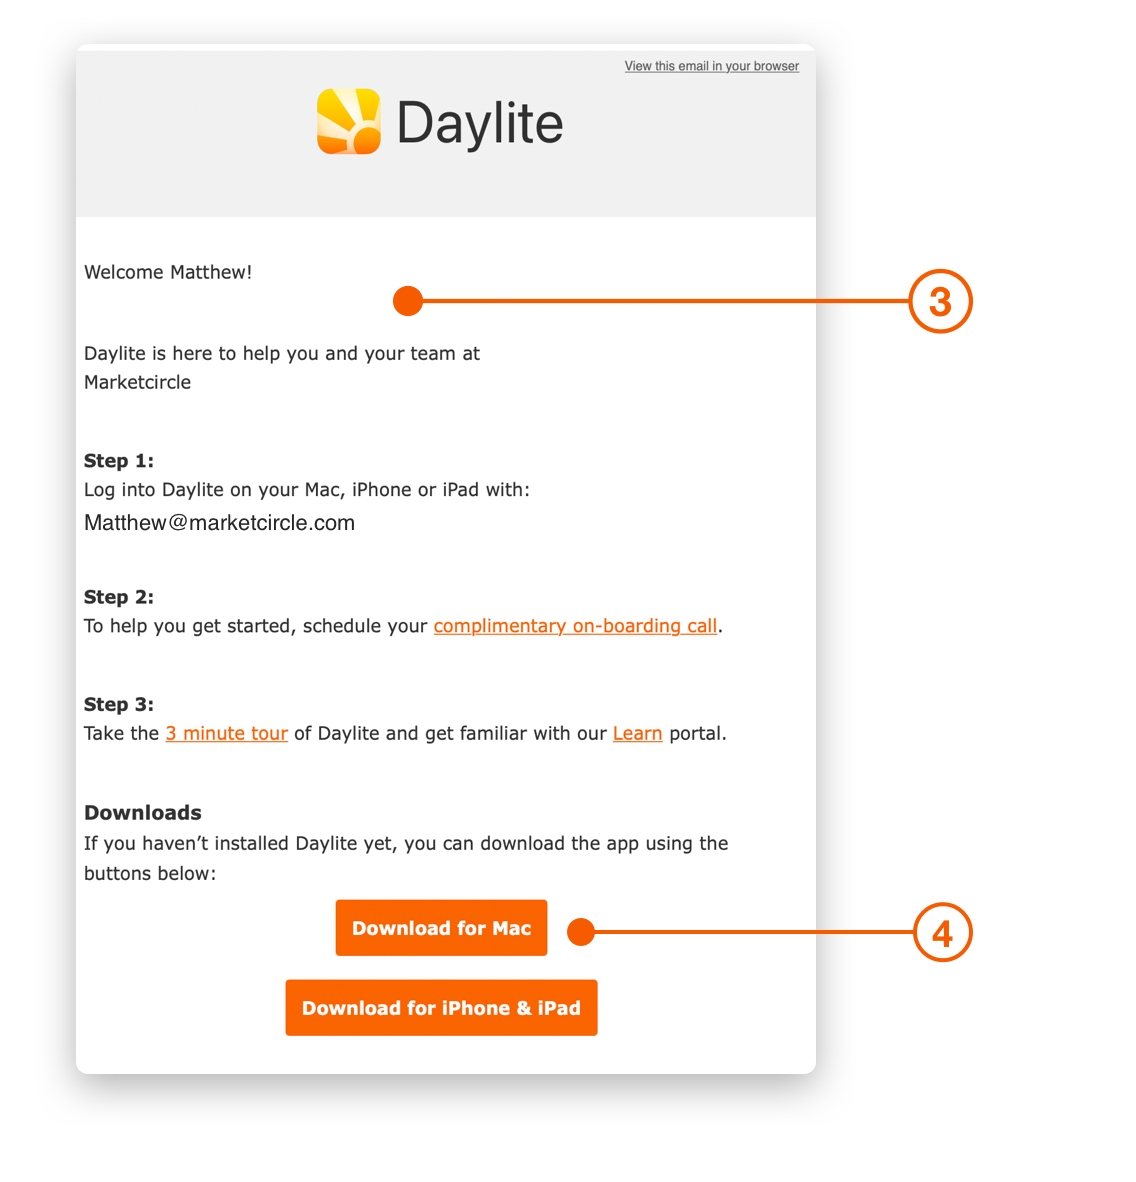
From the invite email, click Accept Invitation.
Enter your email and password, then click Sign In.
Follow the Welcome instructions.
Download and install Daylite.
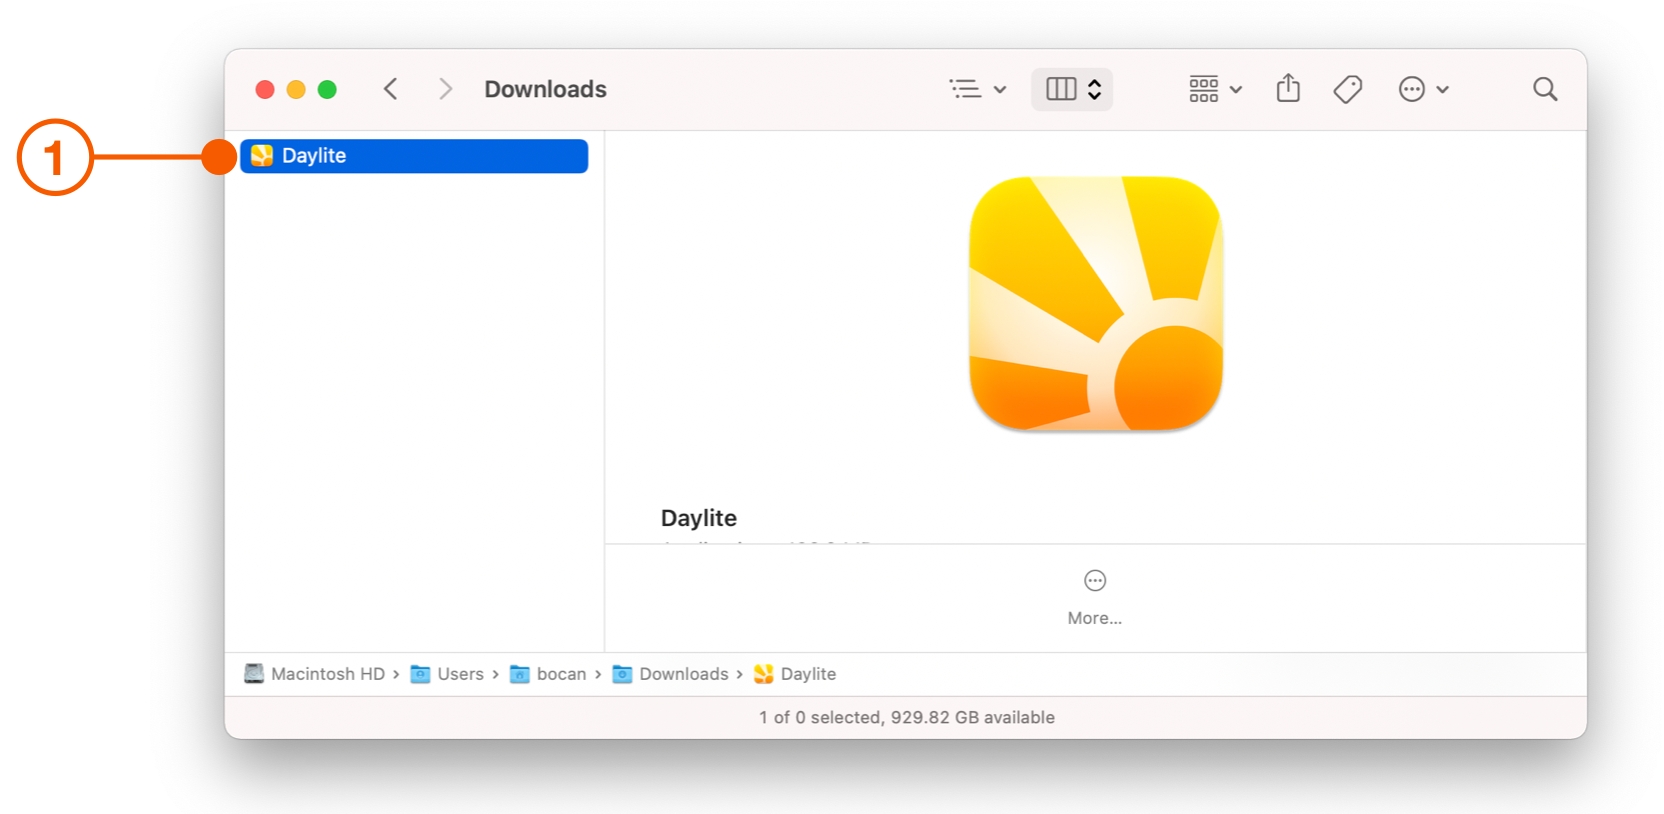
Install and Log in to Daylite on the Mac
Navigate to the Downloads folder and drag the Daylite application to the Applications folder to install.
Follow the steps within the installer. Once the application has been installed, log into your account with the email address and password you used to create your account.Installing Daylite on an iPhone or iPad
Your team can also log into Daylite on their iPhones and iPads. While they should have received these steps by email, you can send them the steps here:
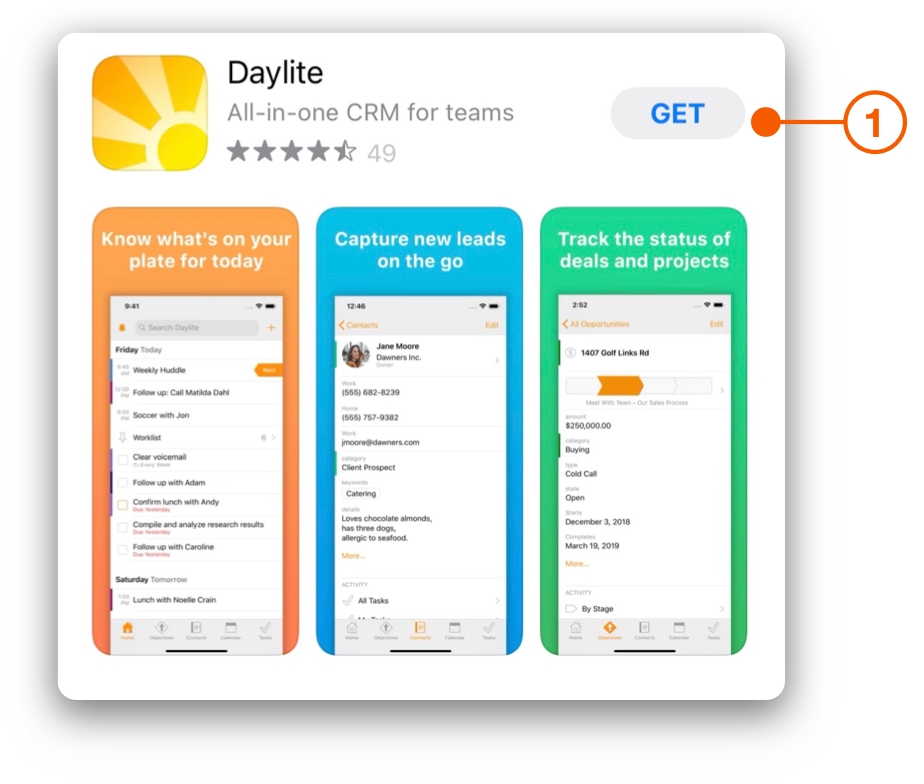
Open the iOS App Store.
Search for Daylite and tap Get.
Open Daylite and log into your account with the email address received and password you used to create the account.
Wrap Up
Daylite will help your business increase communication and your team will work together better. By adding your entire team you can build and nurture more relationships, close more deals, and execute on your plans.
Take your business further and get ready to scale by Organizing Your People into Teams.
Last updated